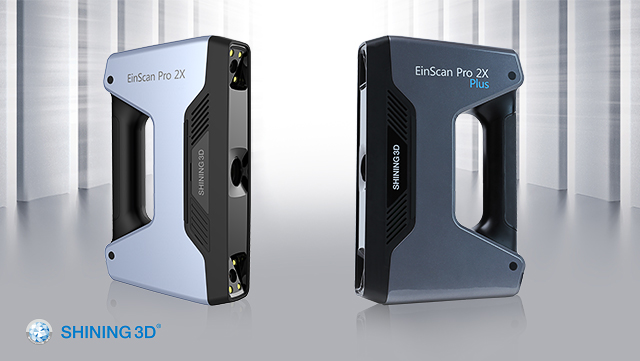
With the release of the new and improved EinScan Pro 2X series we’ve helped many new customers make the dive into their 1st handheld 3D scanner. But we all know that with new workflows new obstacles can arise making familiar tasks seem more difficult. Luckily the EinScan Pro 2X and Pro 2X Plus are known for their versatility and live up to their name as the powerful multi-functional handheld 3D scanner on the market. In this ongoing series we’re hoping to give some pointers to new and veteran users alike. Today we’ll be going over each scan mode and how-to best approach different scans.
Selecting the best scan mode for the job:
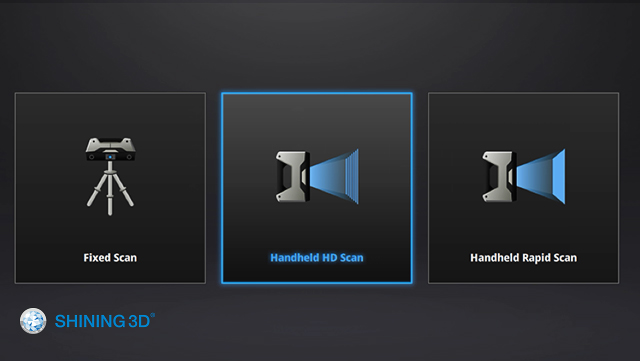
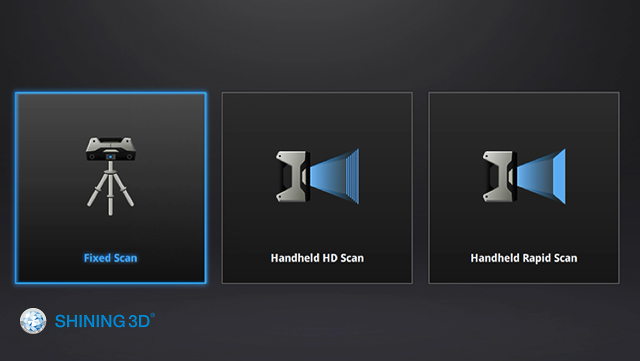
The EinScan Pro 2X line can operate using multiple modes of alignment each with their own strengths and ideal applications. The various alignment modes also affect the accuracy of the scan, so it is important to have your required tolerances beforehand. The 1st and most important thing to do when beginning a 3D scan is to identify the best and most efficient way to scan the object. It is important to note that just because an object can be scanned in a particular way it does not make it the optimal approach. Here we’ll go over the multiple scan modes and their recommended uses.
Handheld Rapid Scan:
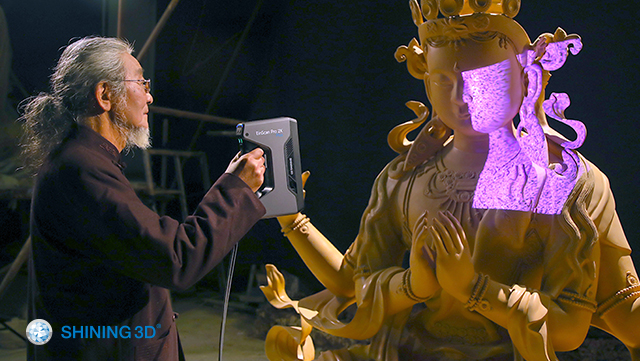
The EinScan 2X’s fastest and most popular form of alignment. This mode allows the user to scan objects without the use of markers at a fast pace and with an accuracy of up to 0.1mm (100 microns). It is ideal at scanning objects with defining characteristics or features such as human faces, detailed furniture, medium to large sized sculptures, and larger objects that meet the requirements. The ideal size of the objects can vary but Handheld Rapid Scan mode is best used on medium to large size objects as smaller objects are better to scan using Fixed Scan mode and a turntable.
Handheld Rapid Scan mode can also achieve scanned data with color by adding Color Pack on. For scanning objects with few geometry features, like flat or plain surface, symmetric shape like cylinder, ball etc, you need put markers randomly on object surface to create features for scanner to identify.

Handheld HD Mode:
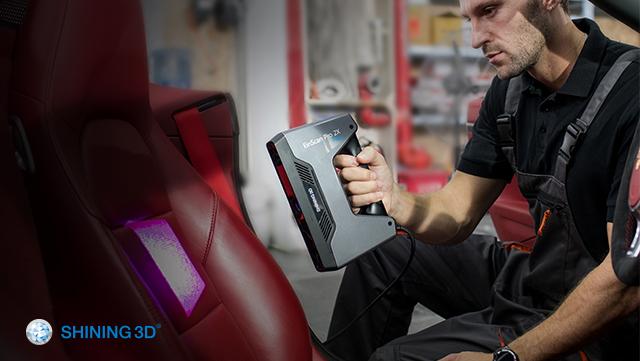
The more accurate handheld scan mode that requires markers when scanning. This mode allows the user to scan objects that require higher precision and detail while maintaining the flexibility of handheld operation. This mode trades some of the speed of Rapid Scan mode for an impressive accuracy of up to .05mm (50 microns) and better geometry resolution. As with the other handheld mode, it is best used on medium objects. Some good examples of Handheld HD scans can include high detailed industrial pieces, furniture, art pieces that require rich features resolution and higher accuracy. (Handheld HD Scan mode can’t work with Color Pack for color data.)
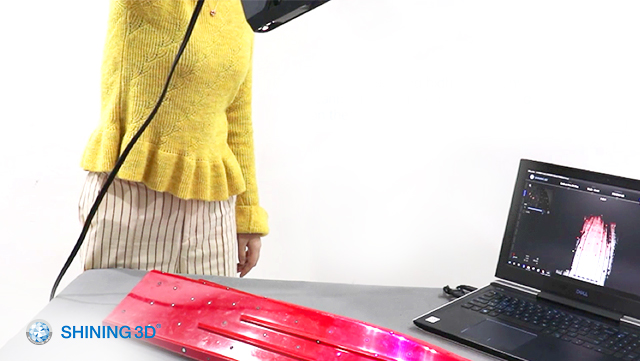
If equipped with HD Prime Pack, Handheld HD Scan mode can achieve faster scanning experience without placing markers on object with rich geometry features, such as art pieces, statues etc.
 Fixed Scan Mode:
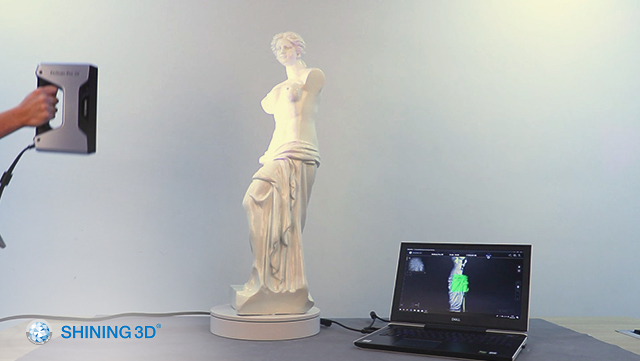
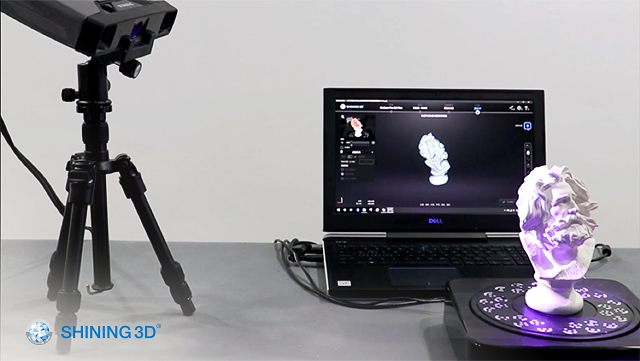
Fixed Scan mode trades the flexibility of the handheld modes for the high precision, high resolution and ease of use of single scans. It is the ideal way to scan smaller objects that are easy to manipulate and move around. What this scan mode gives up in handheld freedom it gains back in its versatility and ability to take single scans in multiple ways. Boasting an impressive precision of up to .04mm (40 microns) and capable of scanning with and without markers means that you gain unrivaled versatility and precision that other handheld scanners cannot match. Fixed Scan mode also allows the use of the Industrial Pack’s add-on automated turntable to create automated scans that are stitched together in real time through the EXScan software. The general rule of thumb is that is an object is small enough to fit the turntable included with the EinScan Pro 2X’s Industrial pack then it is better off being scanned in the automated Fixed Scan mode. This ensures the most precise scan while reducing the room for errors and simplifying the workflow.
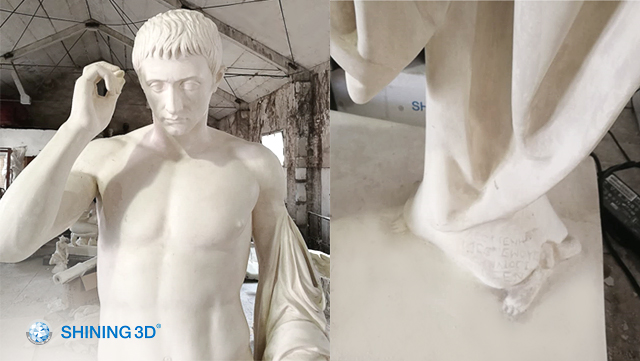
Sometimes objects may require scanning in multiple different modes for best results. EinScan allows multiple scanning modes in scanning any single object. Once you’ve gotten a few scans under your belt you’ll be able to identify the best way to scan an object simply by looking at it.
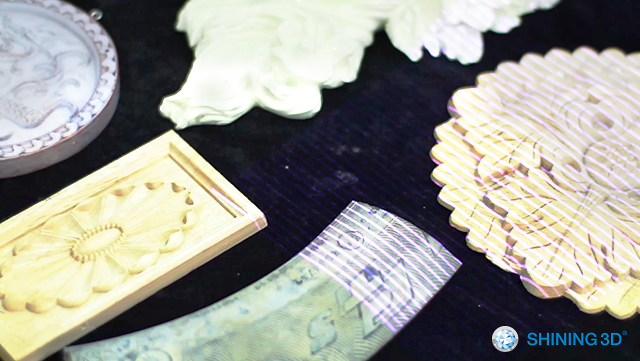
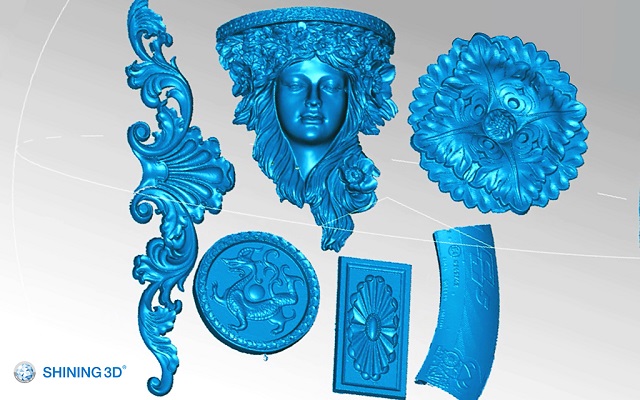
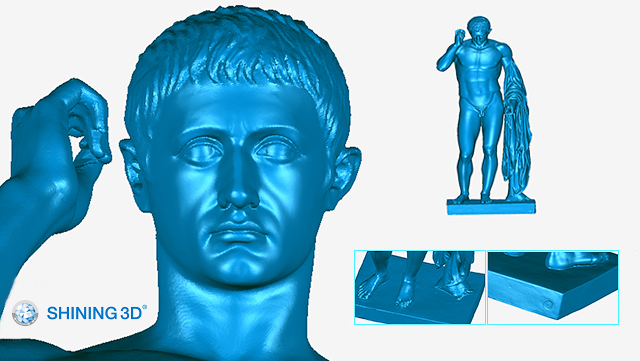
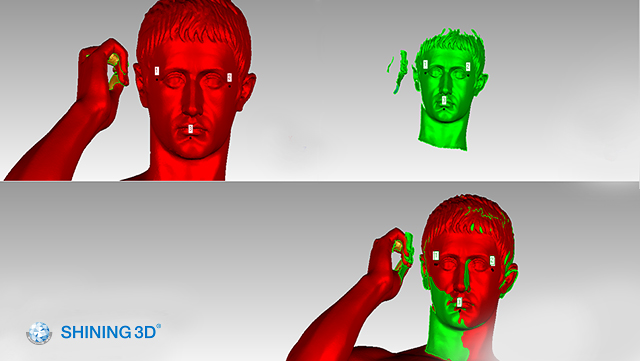
For example, when scanning a statue, you can use Handheld Rapid scan mode to quickly capture the entire 3D data and use Fixed scan mode to capture some complex parts such as the facial part, or carved text in high-resolution. You can replace the face and carved text from Rapid Scan Mode with the high-resolution data captured from Fixed scan mode in Geomagic Wrap software. It greatly improves the efficiency of 3D scanning.
We hope that with this easy-to-follow guide on scanning we’ve made your scans that much easier. Please feel free to reach out to us directly should you have any questions. Send any technical questions to support@shining3d.com . For sales related info or pricing please contact sales@shining3d.com


