Table of Contents
Custom Tweeter Mount for a CX8 with the EinScan Pro 2X
A Case Study by Katsuya Tanabiki
Modeling to fit curved surfaces
A New Approach to Tweeter Installation
A tweeter is a high frequency speaker in the car audio system, and plays an important role in sound quality. Tweeters are many times exchanged or added in car sound systems by music and car enthusiasts. There are several approaches to how a tweeter can be installed in a car:
(1)The easiest way is to install the tweeter in the stock position, but this is not advantageous for the sound quality.
(2) Putting the tweeter on the dashboard somehow looks strange.
(3) Embedding the tweeter in the A-pillar is the best solution in terms of appearance and sound quality, but it is very costly.
With the help of 3D scanning and 3D printing technology, an economic, good looking and efficient solution for mounting a tweeter can be achieved for any car model in the market. A 3D printed semi-embedded custom tweeter mount can just be attached to the A-pillar without looking out of place.
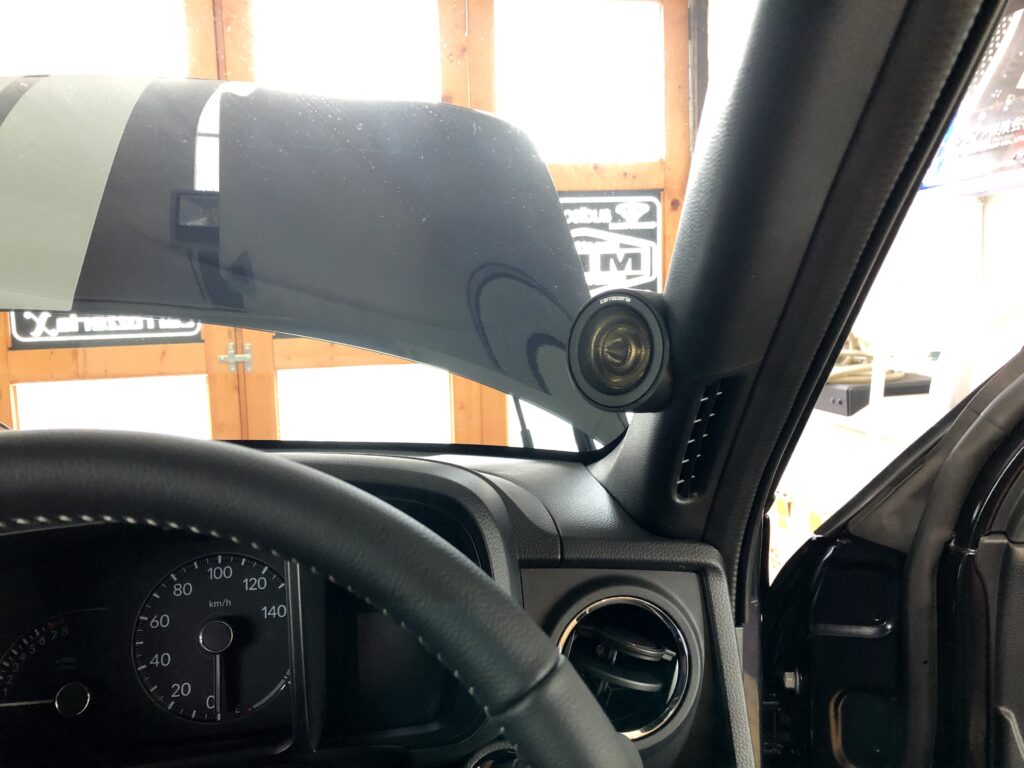
Image 1: Example of a semi-embedded tweeter mount
How to Design a Tweeter Mount With the Help of a 3D Scanner
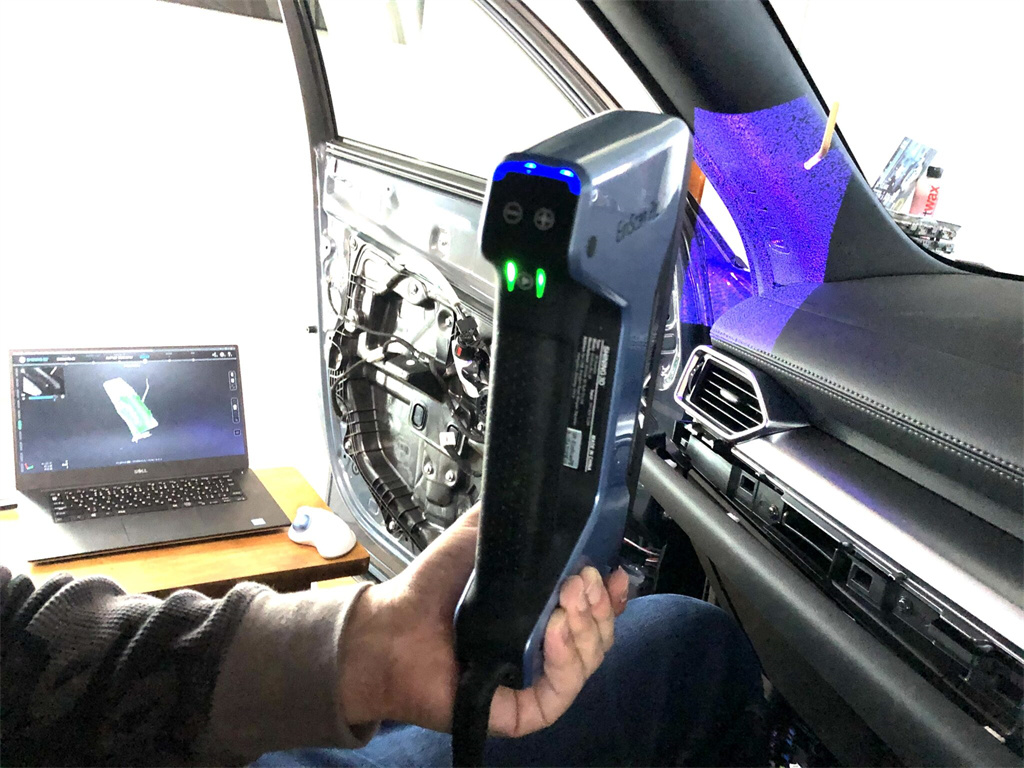
Shining3D EinScan Pro2X
There are many tricks to using a 3D scanner. Black objects can be tricky to capture, but by adapting the brightness ot the EinScan Pro 2X, surfaces can be captured effectively. The scanning process was completed in about 5 minutes.
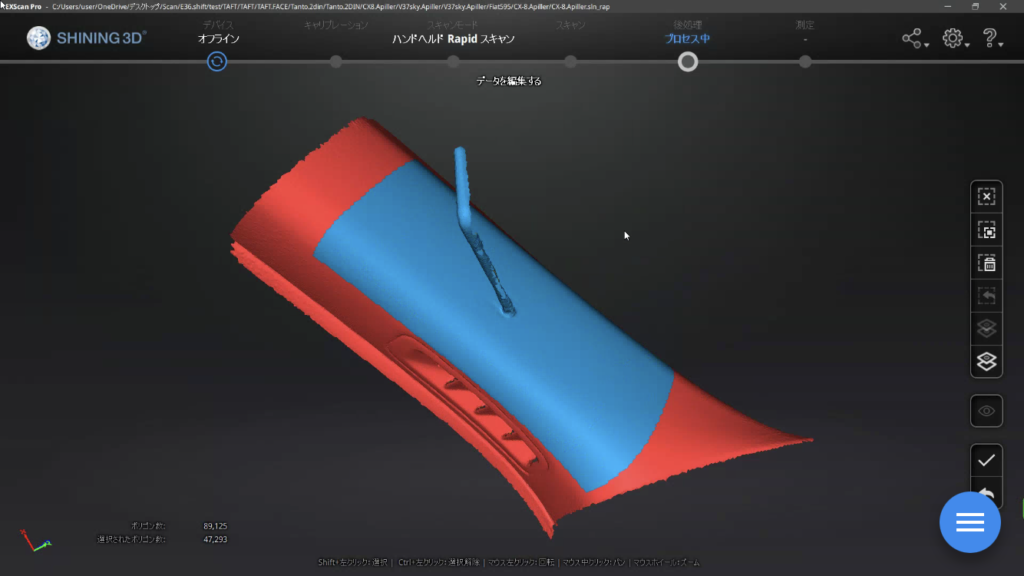
In this case, since the project is just about a small tweeter, the data can be kept to a minimum, since the deign can be more precise when reducing the data before inserting it into
Fusion360.

The orientation of the 3D scan data is not can be corrected in ExScan Pro directly.
Once the orientation of the tweeter is specified, the data can be imported to Fusion360.
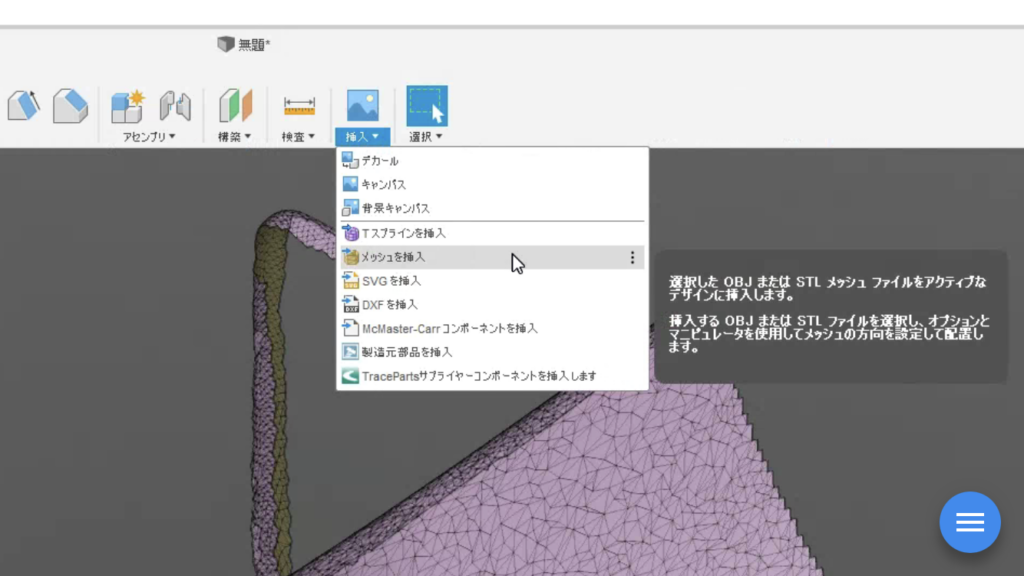
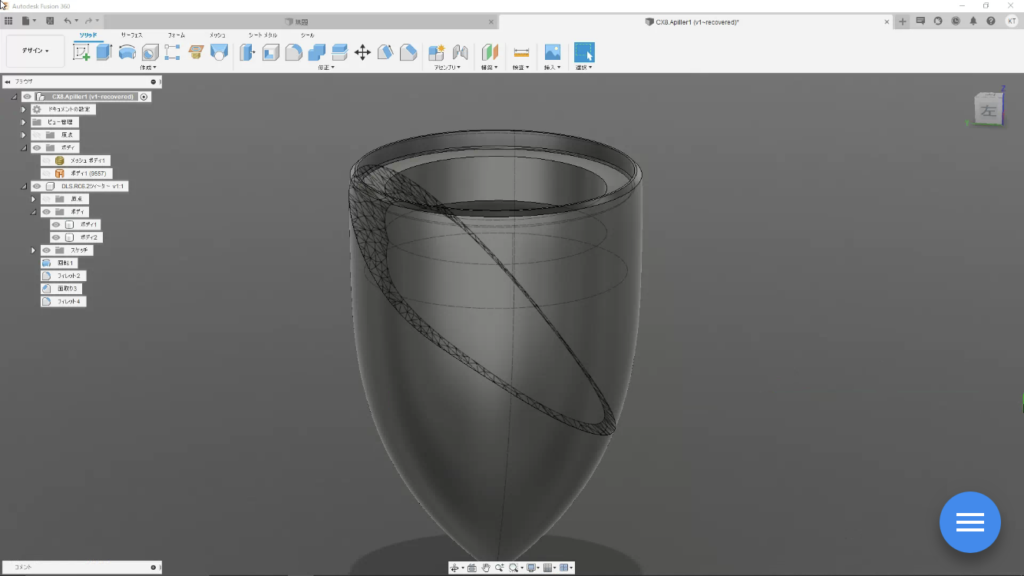
The scanned CX-8 A-pillar curved surface data is inserted into Fusion360 using “Insert Mesh”.
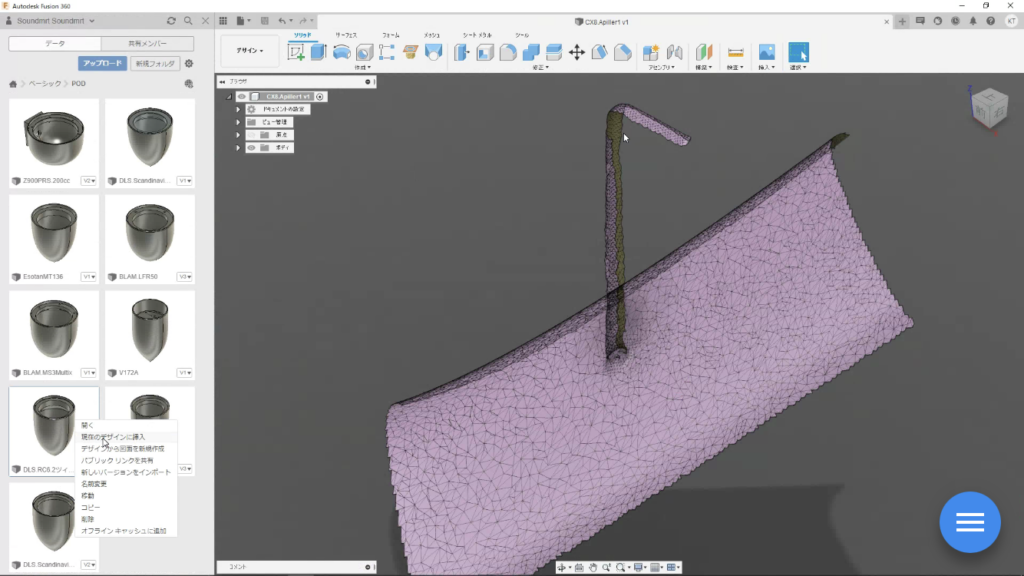
The tweeter pod is added into the current design using “Insert into Current Design”.
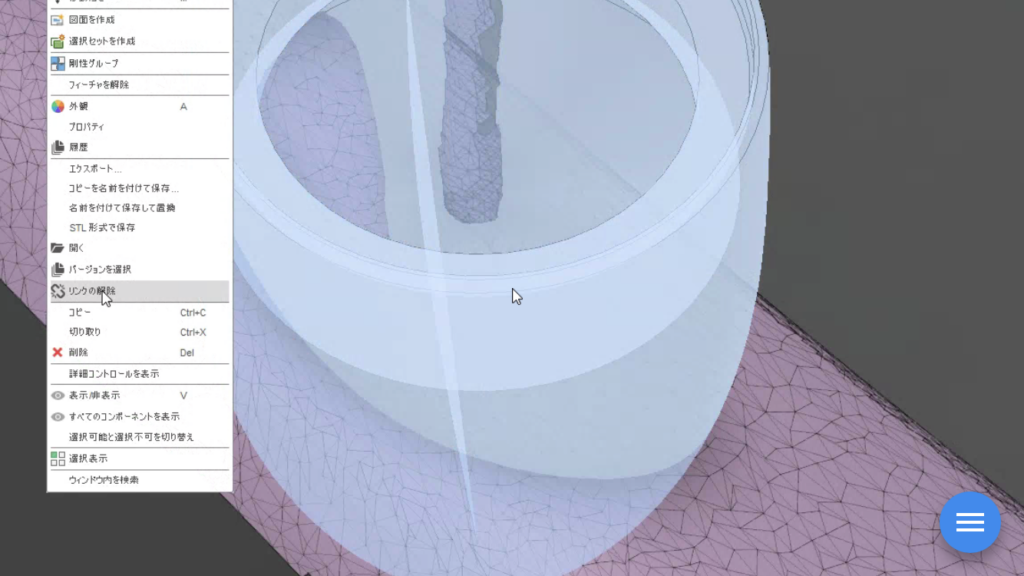
The position of the tweeter pods should be determined checking the whole image and making minor adjustments. If the tweeter pods aren´t unlinked, they can not be divided.
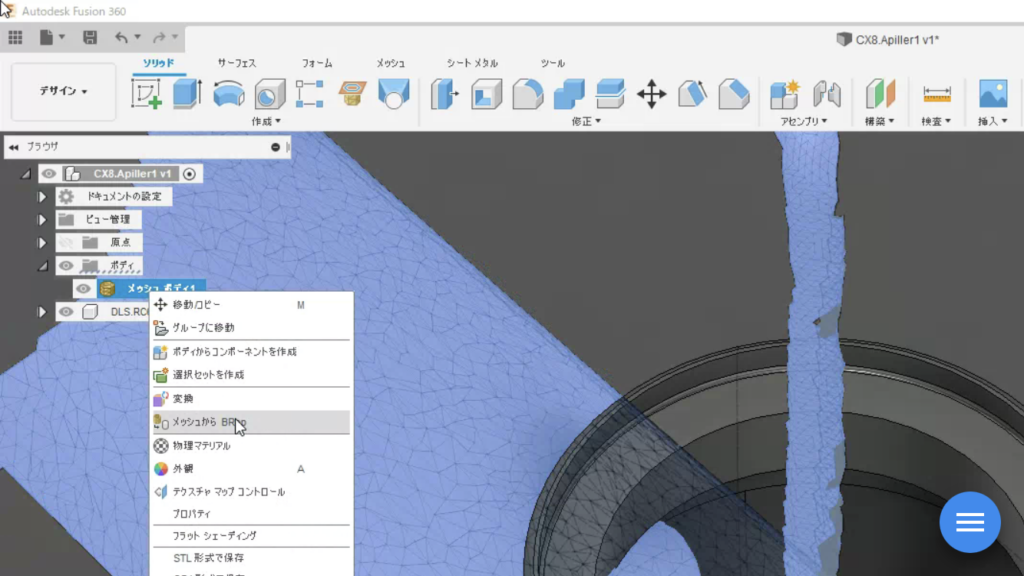
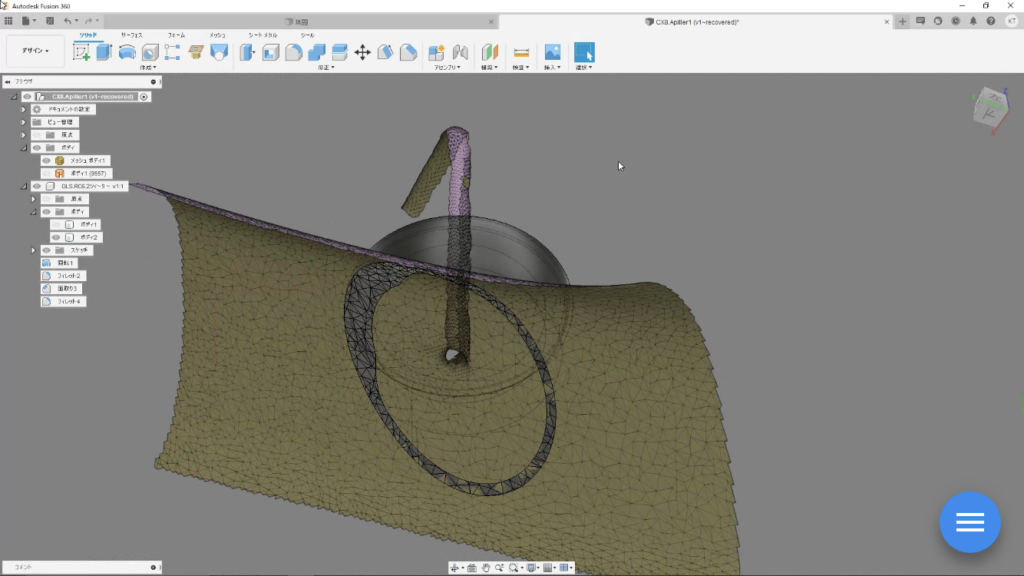
The mesh data of the A-pillar should be converted to “Mesh to BRep”.
The conversion process takes some time depending on the specs of the PC, so patience might be required.
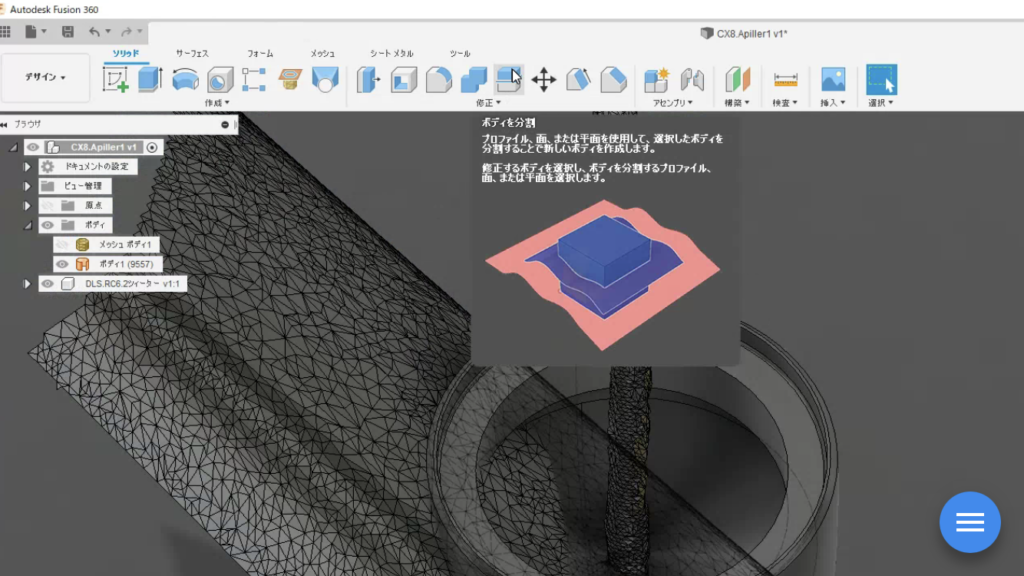
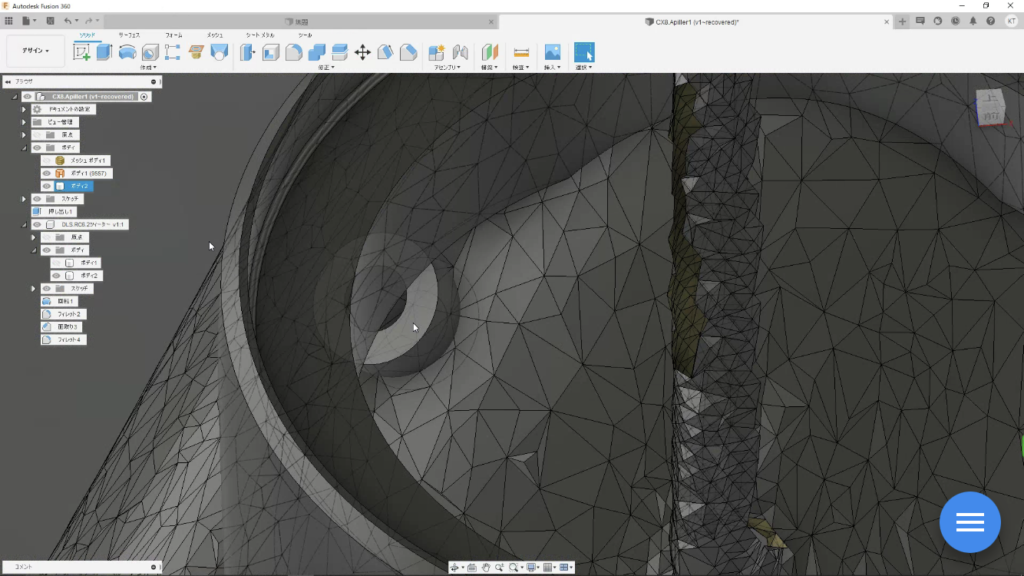
Now the tweeter pod can be cut to fit the A-pillar perfectly.
The use of the “Split Body” function cuts the tweeter pod on the curved surface of the A-pillar.

“Extend Split Tool” box needs to be selected first.
Then, the tweeter pod can be selected as the “Body to Split” and the A-pillar curved surface as the “Split Tool”.
Once selected “OK”, the PC start to calculate.
A-pillar curved surface with the left tree eyeball removed.
If successful, the A-pillar curved surface can be cut along.
A flange is needed to fix the tweeter mount to the A-pillar.

When placing the screws, it is important to consider the placement situation, otherwise there can occur problems upon installation of the mount.
With this in mind, the correct surface needs to be selected carefully in order to get started started with sketching.
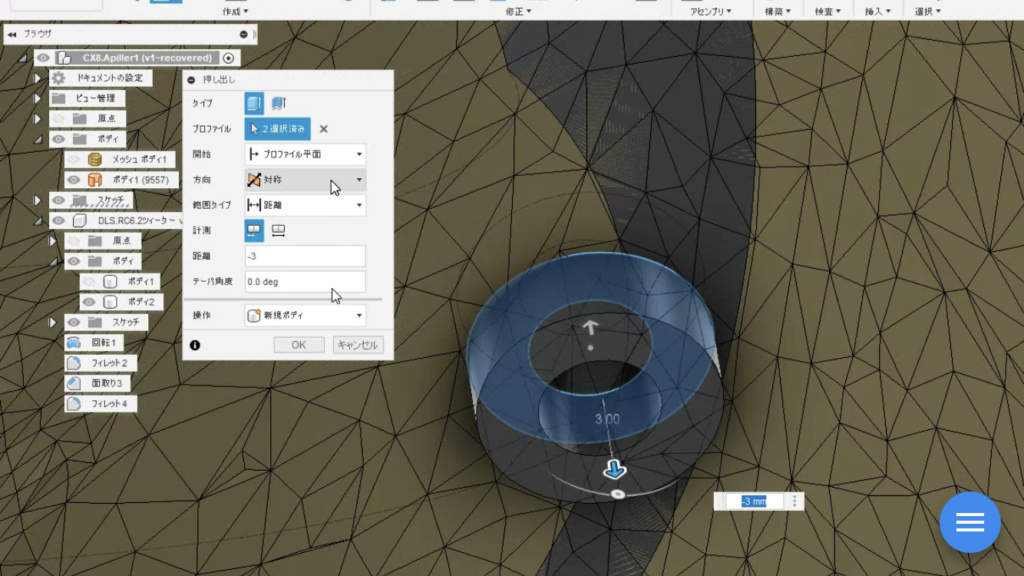
On the face of the body, the flanges can be sketched according to the specifications of the screws, and made solid by “extrusion” or other means.
At this point, it should not be “joined”, but made into a “new body”.
It is very important to determine the angle of the flange because the screws are screwed in through the tweeter opening. In this particular case, the screwdriver will either not fit or will be too angled, making it very difficult to fasten the screws.
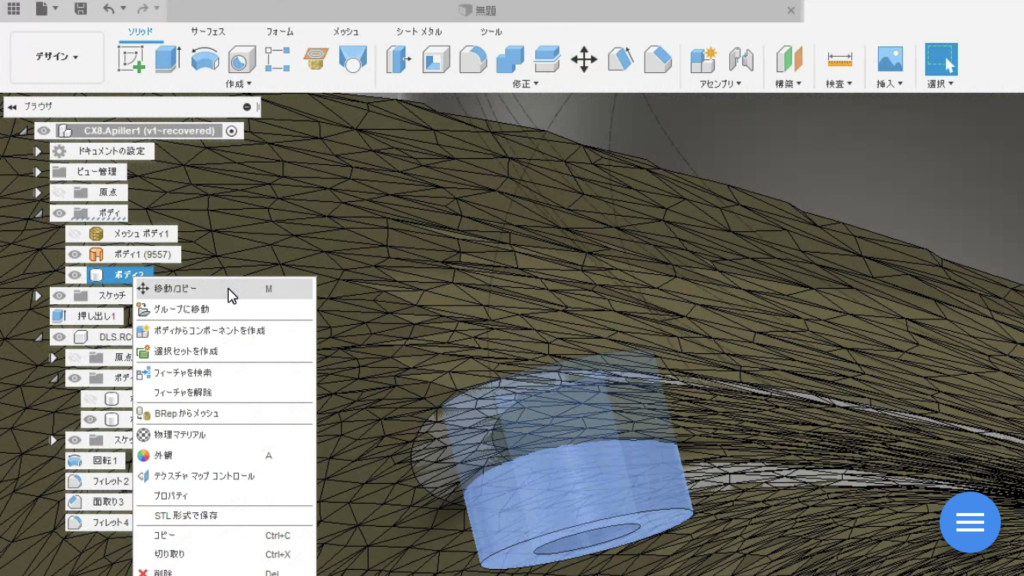
Once one location is picked, further locations can be selected by using the “Move Copy” function.
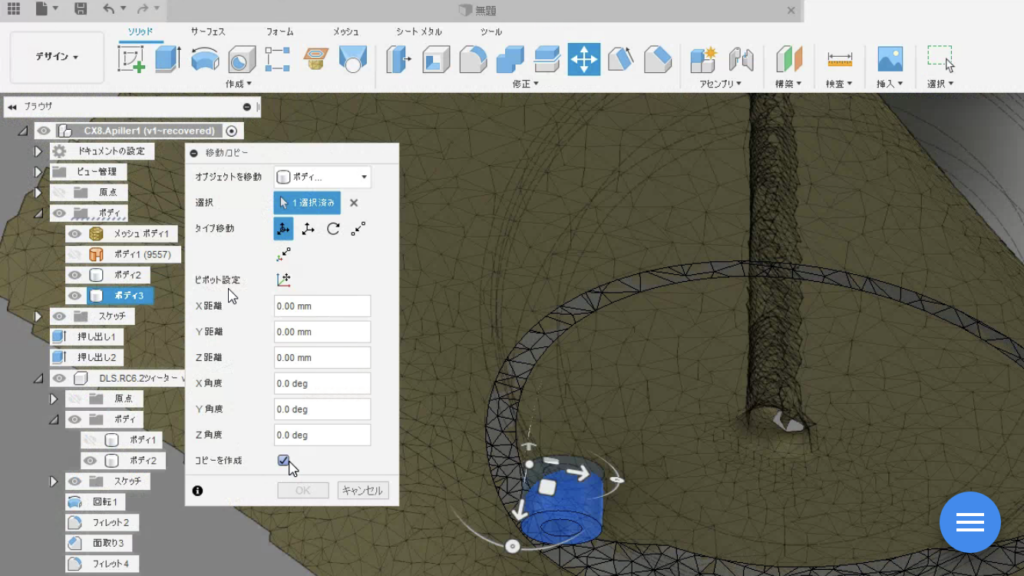
To make it easier to adjust the position angle, it is better to change the “Pivot Settings”. This can be achieved by clicking on the “Pivot Settings” symbol, then on the center of the cylinder, and finally on the “Pivot Settings” check mark to apply the settings.
After finishing up the digital construction process in Fusion 360, the tweeter mount can be 3D printed and installed easily.
Katsuya is all about bikes and cars. On his blog custom-auto-maruta.com he is sharing his projects using Fusion 360 and 3D printing in conjunction with his EinScan Pro 2X. He loves the power of 3D technology which enables him to make anything: original parts and 3D printed spare parts.
Want to read more about custom tweeter design with EinScan? Read Bryan Fuller´s custom tweeter story here.


