The typical production procedure for large luxury bathtubs and the solution to 3D digitalization are new to most people, but they are all too familiar to Russell Dulaney.
Russell Dulaney is the owner of Drafting and Design, a company that has been around for ten years and specialises in rendering almost anything in 3D and creating blueprints, diagrams and prototypes, and is a one-stop resource for 3D design needs. As an industrial designer and prototyper, he has been working for years to turn ideas into 3D CAD models for tooling and manufacturing.
In this article, Russell will demonstrate how a hot tub is generally manufactured and the benefits of using 3D scanning while massive manufacturing it. He will also walk you through the whole reverse engineering process of the huge bathtub using SolidWorks.
Traditional Vacuum Forming Method
In the traditional method, the plastic shell of the hot tub is made in a process called vacuum forming. It means to place a flat sheet of oven-heated plastic over a mould that has vacuum pumps, through which the air is evacuated and the plastic is moulded. The plastic is then cooled by fans and the mould is stripped of the formed plastic. Even if the vacuum forming takes only a few steps, it can consume a lot of time and resources.
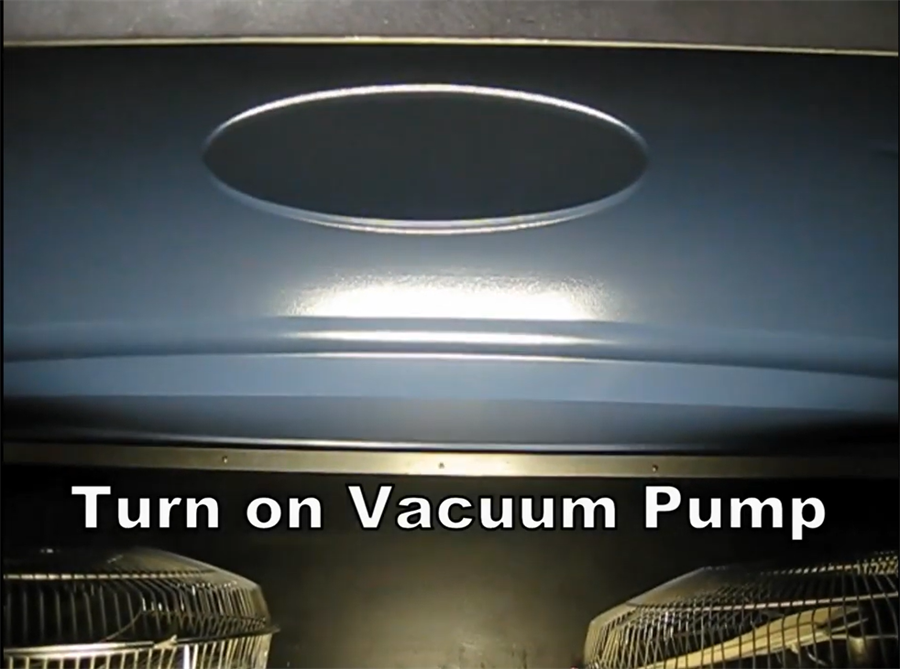
Vacuum pumps are used to remove air to shape the hot plastic, which is cooled by fans
More importantly, handmade molds are made of multiple materials like wood, resin, and fiberglass, which are difficult to maintain in mass production.
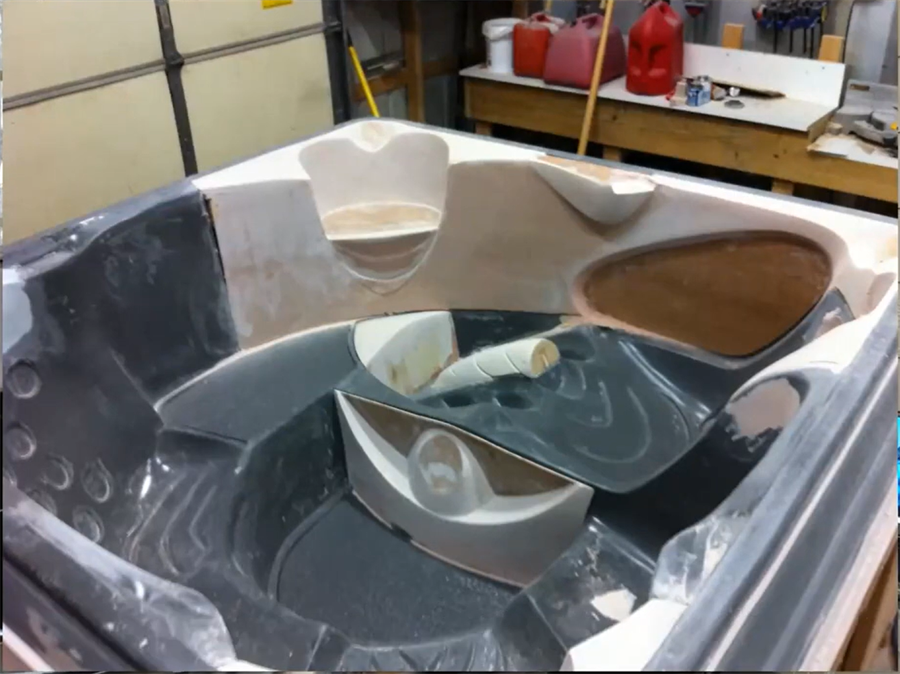
The handmade mold
Alumium mold is more durable and that’s why we need 3D scanning. With 3D scanners, the 3D models of the bathtub can be easily obtained and preserved for aluminum tooling machine manufacturing. Let’s see how Russell did it.
3D Scanning Method
It’s easy to scan this bathtub with the EinScan HX hybrid light source handheld 3D scanner. The geometry is complicated, but it can be handled well with laser scan mode and medium resolution.
Russell first pasted a large number of markers on the surface and then one scan to get marker locations.

The hot tub pasted with markers
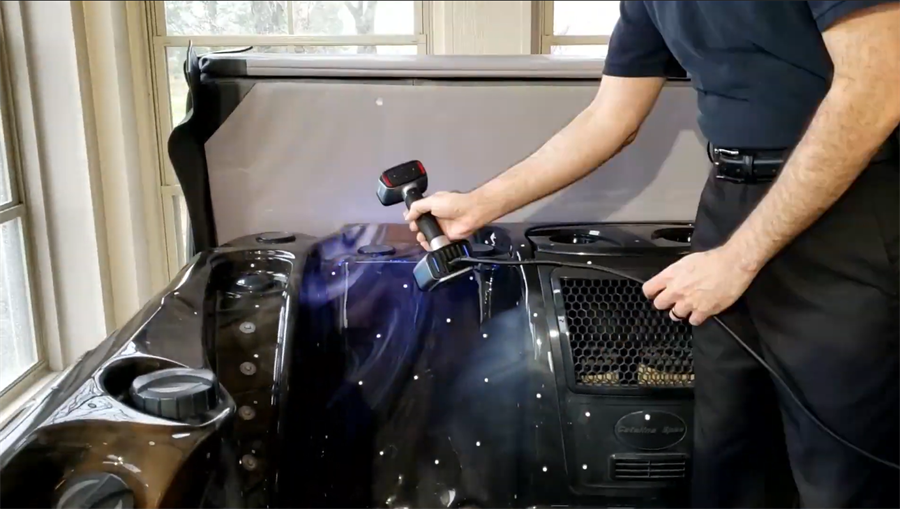
Scanning in progress
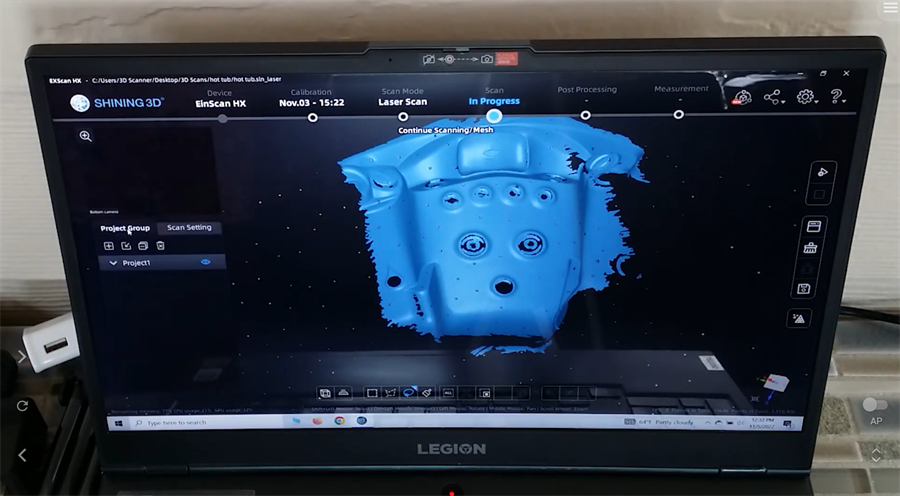
Scanning result of the First section
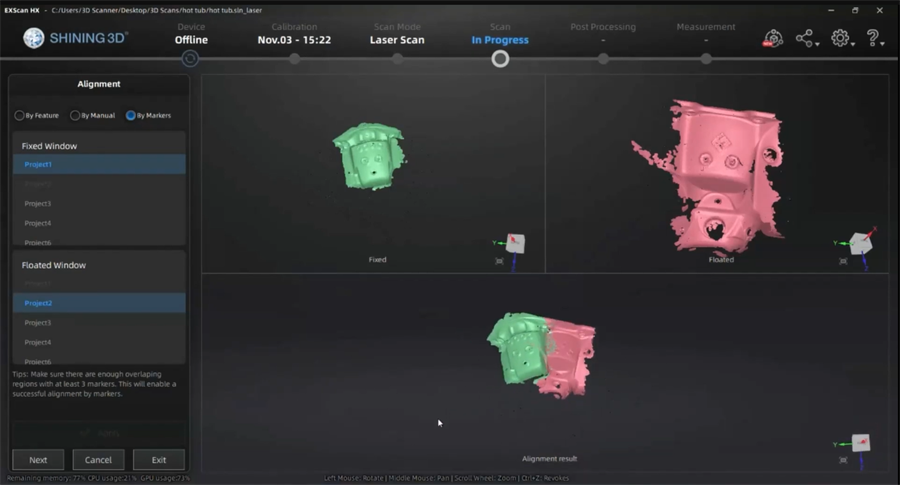
Alignment result of the first and second sections
Final alignment result
Redrawing in Solidworks
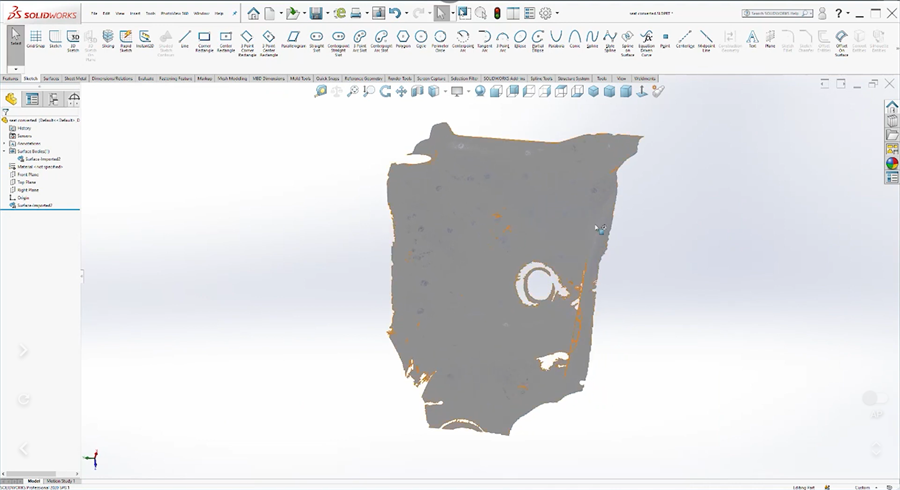
Original scanned part of the large bathtub
He selected 3D sketch and then spline, picking certain points and snapping them to the geometry that he had scanned.
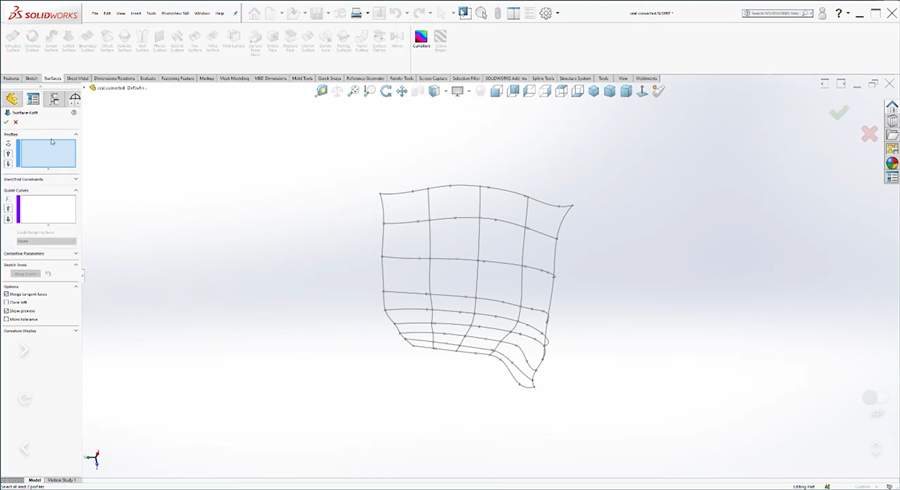
Redrawing with key points
In the step of building the surface, he used surface tab to build a lofted surface with profiles and guide curves. It’s very nice and uniform, which would be good for molding.
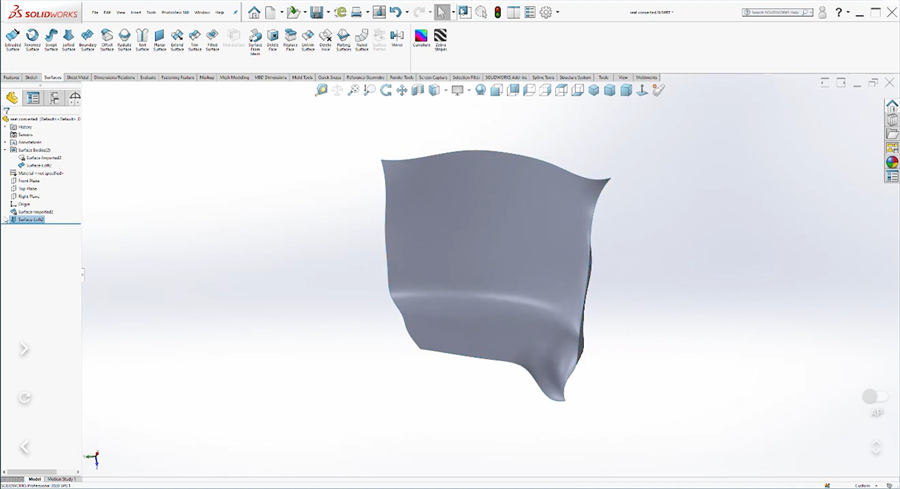
The smooth curved surface without facets
In terms of scanning, large objects with compound curves and blending surfaces are nearly impossible to measure or accurately recreate, but EinScan HX picks up geometry very quickly, accurately and easily, it saves time and keeps costs down.
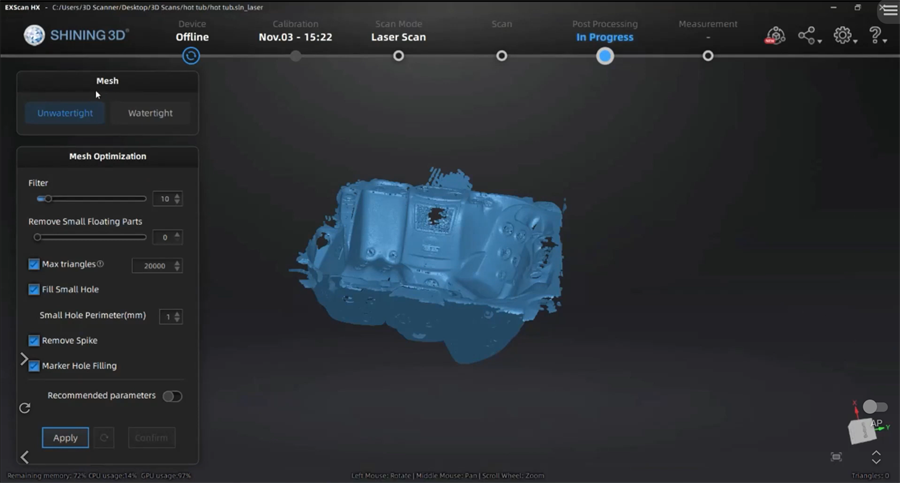
In terms of reverse engineering, it’s easy to properly align multiple scans into one true mesh in EXScan HX software and the mesh data can be imported into any CAD software for rapid prototyping and reserve engineering.
Now, you have got the whole process of going from a handmade tool used to manufacture the bathtub into a 3D CAD file that can be used to create a machine mold ready for high volume production.
Please view the webinar recording if you would like to learn more about the procedure.


