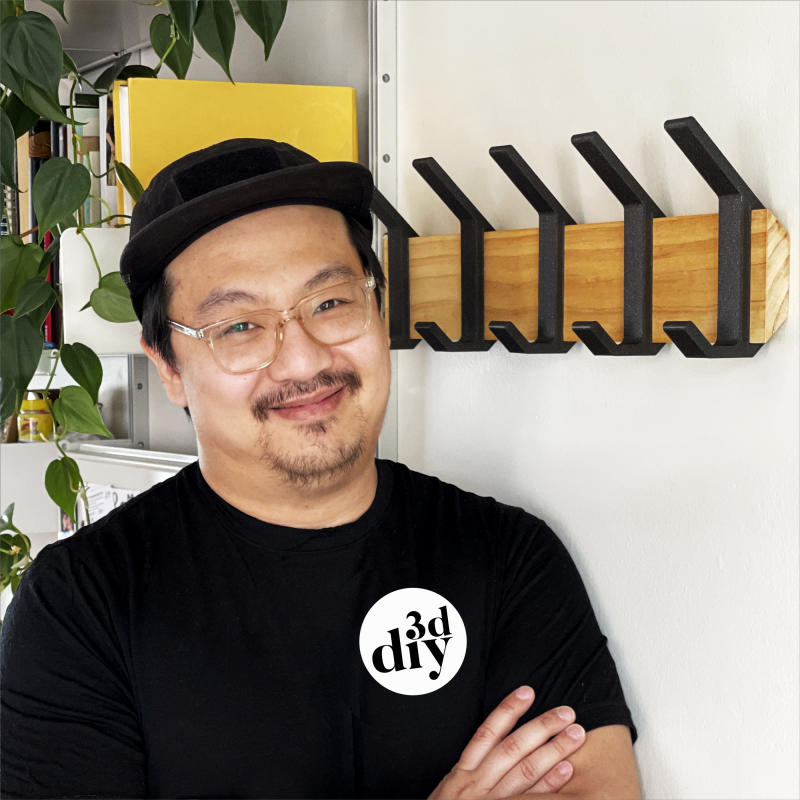
David Miao, also known as @3DDIYDave on Instagram and YouTube, is a maker and content creator who works with 3D printing and woodworking, and has 3D scanned around 200 full body scans of people by SHINING 3D 3D scanners.
In this article, we’ll see how he uses Einstar 3D scanner, Meshmixer software and AccuFab-L4K high precision resin 3D printer to accomplish a complete process of 3D Body Scanning and Printing.
 David Miao
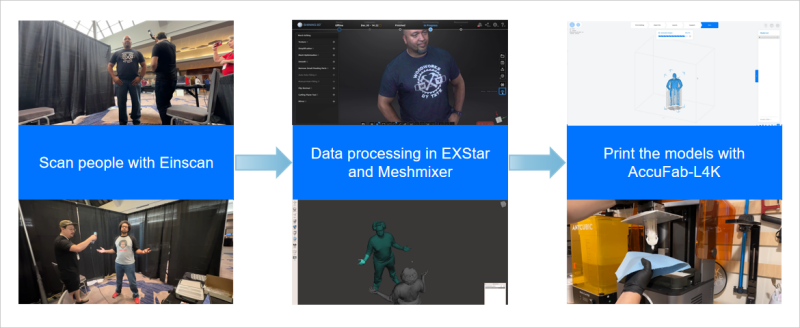
Workflow of 3D Body Scanning and Printing
Table of Contents
3 Tips for body scanning with Einstar 3D Scanner
Using Einstar, we can scan a human body in around 2 minutes, and it has a hair mode that allows us to better obtain detailed hair data. Movement during the scan can cause the scanner to lose tracking and result in a doubling or ghosting effect. Therefore, the main challenge is for the person to stand still and pick a pose they can hold, which can be difficult for older people and children.

Scan people with Einstar
By showing us the process of scanning two people, David shared his tips for scanning human bodies:
1. Start from face. Start with the face and work your way down from the top of the head to the feet.
2. Go slowly. Scan slowly in areas with more details like faces, hands, and feet.
3. Don’t go back. Be careful not to go back and re-scan areas as this can cause echoing. Incomplete data can be completed through post-processing.
Data processing in Einstar Software and Meshmixer
Simple processing with EXStar
We can do some simple data processing through EXStar, such as fixing holes, removing unwanted parts, and simplifing the model. After that, the model can be exported for 3D printing or further processing in other programs.
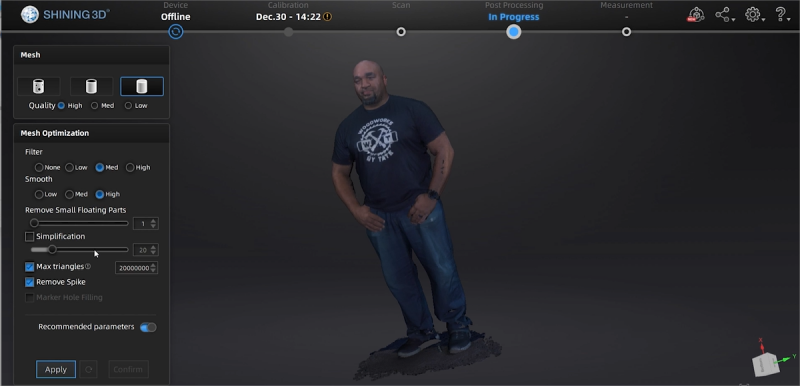
Simple data processing in EXstar
Detailing and hole filling with Meshmixer
The second model was missing parts of fingers and hair, so David used Meshmixer to do more post-processing.
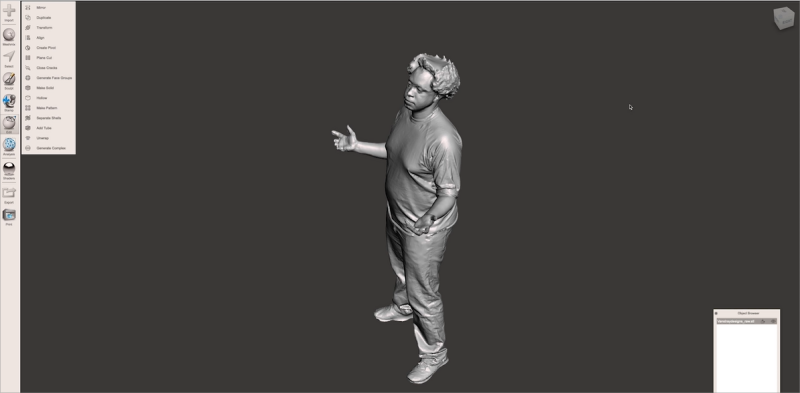
Data of the second model
Fortunately, the two hands were symmetrical. Firstly, David mirrored the model. Then he cutter the hand and hair of the model, and filled them into the missing parts of the original model. Finally, by using tools such as Smooth Brush and Move Tool to adjust, David successfully completed this model.
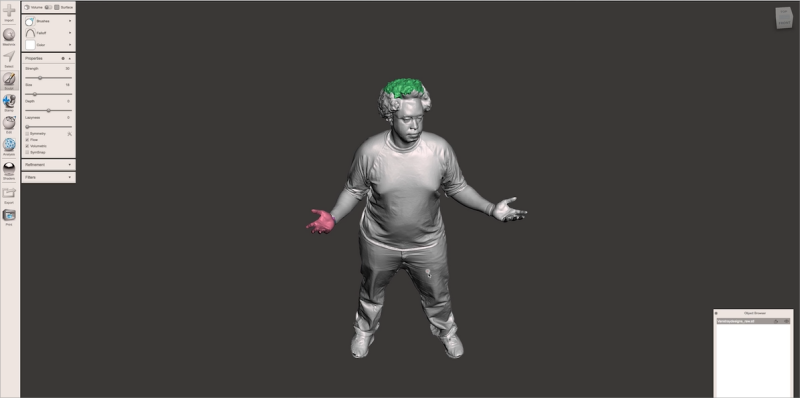
Use Meshmixer to complete missing parts
Print models by AccuFab-L4K high precision resin 3D printer
Firstly, David used the accompanying software of AccuFab-L4K called Accuware to adjust the model to a suitable size. And before printing, the model needs to have supports added and be sliced, which can be done automatically by Accuware. After processing the data, David sent the model to the L4K printer via WIFI for printing. Then he cleaned and polished the printed model, completing the entire process from 3D scanning to 3D printing.
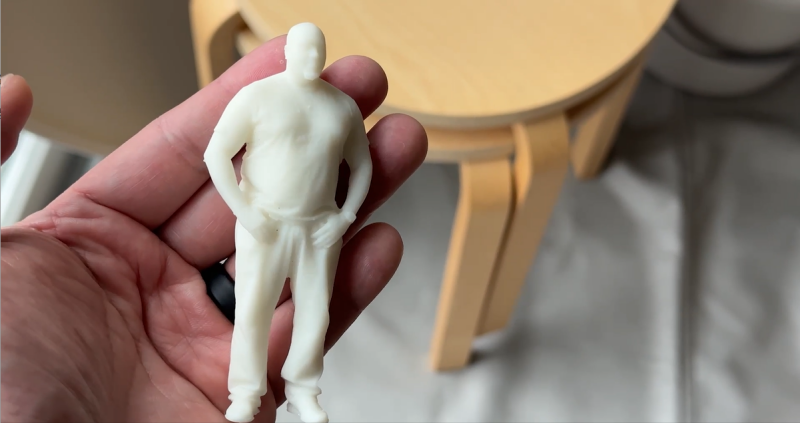
Final model
*L4D and L4K are the same product with different colors, click here to learn more information.


