With the rapid development and tremendous technical progress across industries in the past decade, the structural design of products has become more complex and there has been an unseen amount of diverse mold contours. With the proportion of free-form surfaces increasing and the precision requirements for mold processing rising, the discipline of mold measuring is faced with unprecedented challenges.
Traditional mold measuring methods are generally done manually using contact measuring tools such as vernier measuring tools or micrometers. Only a few attributes such as mold width, height, and depth can be measured, while the curvature of the surfaces and sunken surfaces are difficult to measure. These measuring methods are not only complicated and time consuming, but it is also difficult to ensure measuring quality and accuracy of large-size molds, making mold measuring a very time-consuming and laborious part of industrial manufacturing.
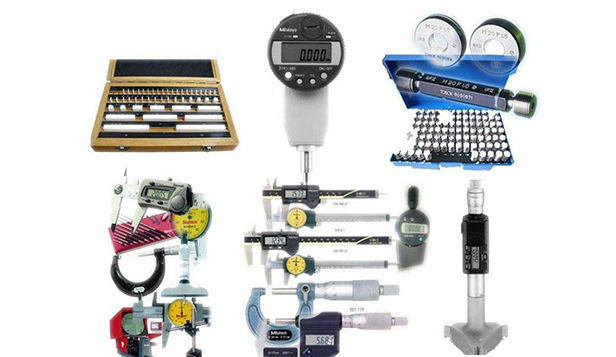
Traditional measuring tools. Image source: Baidu
For this reason, non-contact 3D scanner measurement has gradually attracted the attention of the mold manufacturing industry and has become one of the main methods of industrial mold measuring due to its abilities of overcoming the deficits of traditional measuring methods and achieving high-quality inspection.
Background
A mold factory made a 1.5m×1m aluminum mold according to customer needs. Due to the significant differences in processing equipment and technology, in many cases the mold cannot reach the required accuracy after production. For this reason, mold measuring becomes a necessary stage in the manufacturing process of industrial products.
On account of the large size of the aluminum mold, the traditional manual measuring tools are not able to obtain the comprehensive data information of the mold accurately. In order to improve the current dilemma of poor measuring results and inefficient measuring work, the mold factory chose to use a handheld 3D scanner to perform 3D measurement of the mold.
Measurement and inspection process
For this measuring process, the mold factory chose EinScan HX dual blue light handheld 3D scanner. Due to the integration of blue laser and blue LED light source in one device, EinScan HX is compatible with various application scenarios in measuring. Due to its portability, user friendly handling and high scan speed, the complex working environment of the factory is no longer a complicated obstacle during the measuring process, but a challenge excitedly accepted by EinScan HX bringing great improvements to the efficiency of quality measuring.
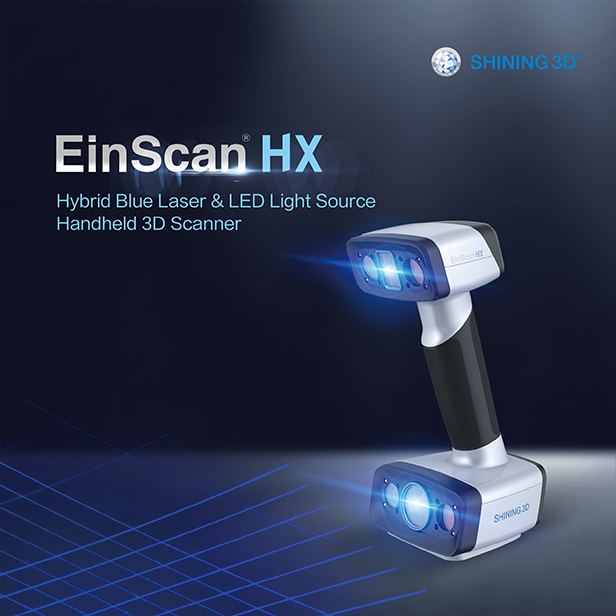
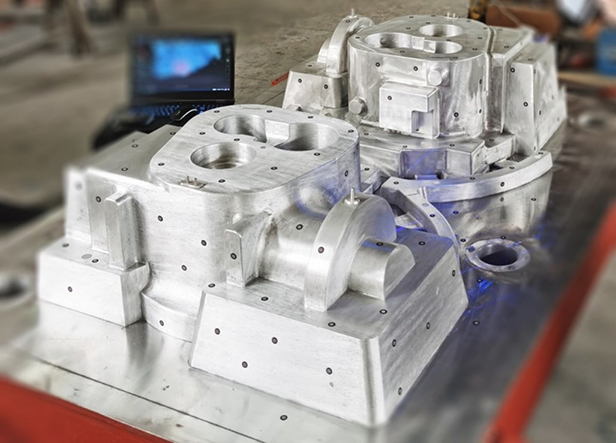
Step 1: Application of Reference Points
For this scan the laser scan mode of EinScan HX was selected. Before scanning, reference points were applied on the reflective aluminum mold workpiece.
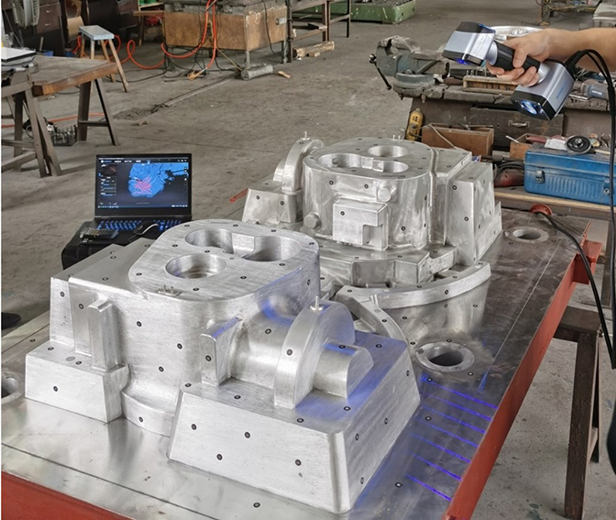
Step 2: 3D Scanning
The laser mode has a scanning speed of 480,000 dots/sec. The technician spent only 10 minutes to obtain the complete high-precision 3D model data of the aluminum mold directly.
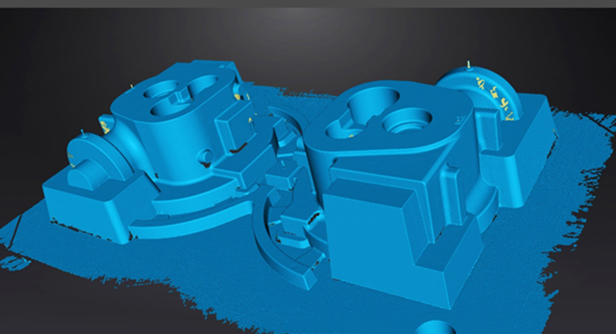
Step 3: 3D Measuring
In order to check whether the aluminum mold meets the accuracy requirements, the scanned aluminum mold data and a digital model of the original design were imported into the measuring software Geomagic Control X. After the coordinates were aligned, the deviation comparison analysis was performed using the chromatogram to obtain the annotated deviation diagram. Finally the measuring report was exported.
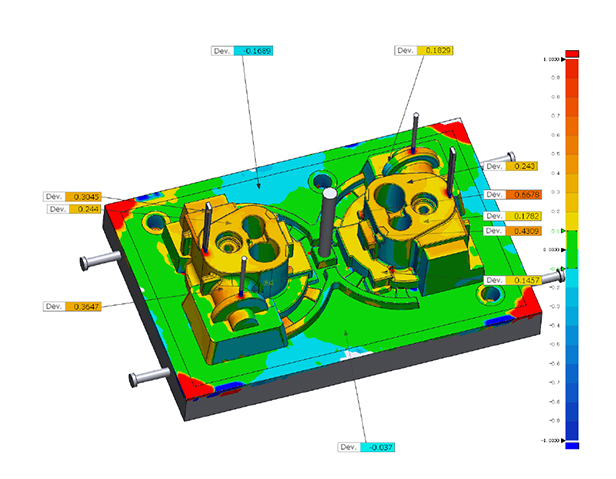
In the case study above, we introduced the application of EinScan HX using the laser mode to measure large-size aluminum mold. The scanning process took less than 30 minutes from applying reference points to 3D scanning to obtaining the final comparison analysis report. This method saved a lot of time in relation to traditional measuring methods and solved many parametrical problems which cannot be detected by traditional measuring tools.
EinScan HX: One Device, Two Light Sources, Limitless Applications
EinScan HX innovatively combines blue LED light source and blue laser into one device, which offers the key benefits of both 3D scanning technologies: the speed and efficiency of LED structured light and the precision and details of the laser in one single 3D scanner. EinScan HX is a multi-purpose device and compatible with a variety of surface materials and object sizes.
In addition, when opting for the rapid scan mode of EinScan HX, the blue LED light source can be used to scan and obtain the 3D data of mold parts with obvious characteristics without the need of sticking marker points. This improves the efficiency of the whole data acquisition process and satisfies various needs of users, as well as providing a fast forward and feasible solution for product measuring and reverse engineering.


