The insole customization industry has evolved from traditional plaster cast orthotics to 3D printed precision orthotics that can be delivered in a matter of days. This shift has been made possible by 3D digital solutions that streamline the insole customization process.
In this article, we will explore the steps involved in creating custom-fit insoles using 3D scanning and printing technology. With EinScan Pro HD Mutifunctional Handheld 3D scanner, Geomagic Essentials, Solid Edge, and AccuFab-L4K resin 3D printer, insole manufacturers can create accurate, custom-fit insoles for customers with greater speed and efficiency than ever before.
Table of Contents
Capture the Footprint Shape with EinScan Pro HD
First, we need to get the 3D data of footprint, and the tools used in this process are a piece of foam and the EinScan Pro HD Multifunctional Handheld 3D scanner.
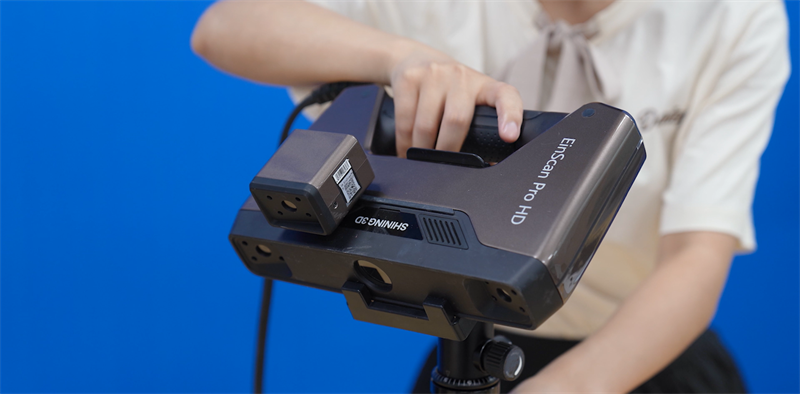
EinScan Pro HD Multifunctional Handheld 3D scanner
The foot was placed on the foam to obtain a piece of foam with footprint. Then, we used the EinScan Pro HD to scan the foam. The EinScan Pro HD has 4 scan modes, so users can always find a suitable mode even when scanning objects of different sizes.
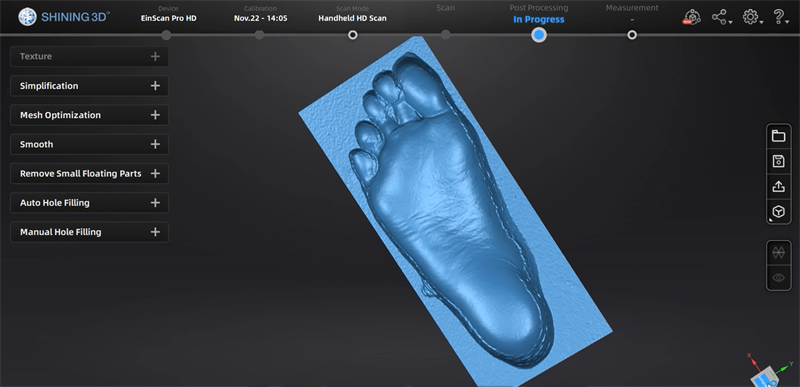
Scan the foam with footprint
Due to the small size and rich texture of the foam, it was appropriate to choose the Handheld HD Scan mode with an accuracy of 0.045 mm, and then using the feature alignment, we captured the shape of the foot precisely.
Scanned data of the foam with footprint
3D Data Processing Using Geomagic Essentials
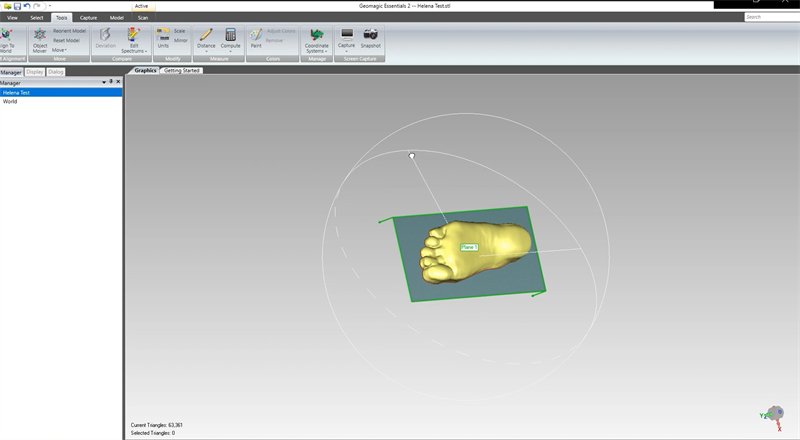
Geomagic Essentials has rich data editing and optimization functions to better bridge 3D scanning and CAD software. The Mesh Doctor tool can automatically check all the faults on the surface and fix them. The hole fill function helps us to fill in the data missed during the scanning process. The quicksmooth, defeature function helps to improve surface smoothness and reduce the data size.
One more important step is alignment. “Align To World” function can help with this task in general, and the object mover can help us manually align it more carefully. We then delete the plane and compress the data on the Z-axis to export the mesh file. At this point, the cluttered scan data is converted into a fully usable reverse engineering model.
Processed 3D data
Design in Solid Edge
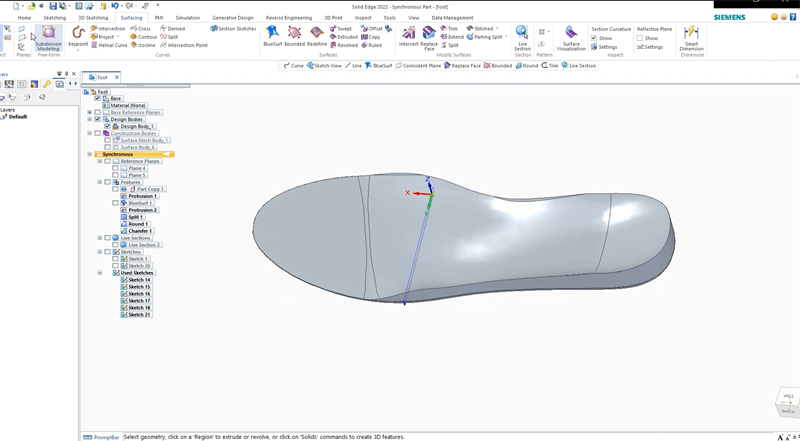
We start the part design by importing the mesh into Solid Edge. First, we import a insole pattern picture, adjust the size and align it with the foot data. Then, build the base plane of the footpad, and on top of that, use the Curve Sketch tool to outline the outer shape. We create a new body and extrude the footpad, and use the mesh data to subtract the current footpad body. Finally, we add draft and rounds and output the mesh for 3D printing.
3D Printed Insoles
The high precision resin 3D printer AccuFab-L4K were used in this application. We used AccuWare software to make adjustments before printing, including cutting the 3D model into thin layers. AccuFab has a stable and accurate printing accuracy, and it will build the insole layer by layer according to the instructions.
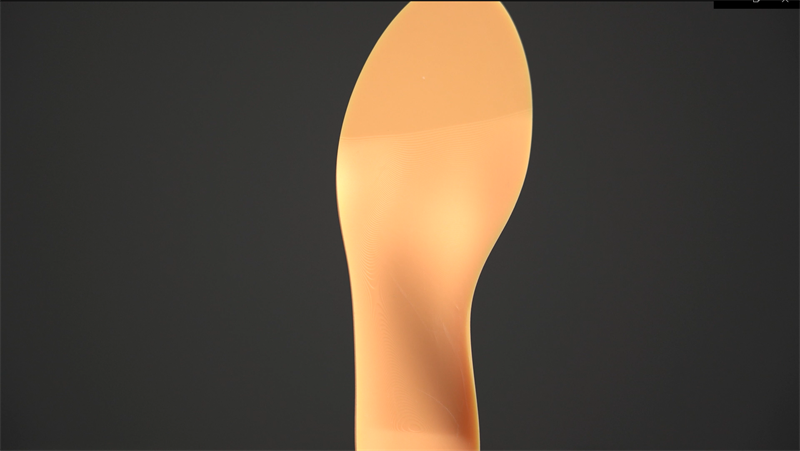
3D printed insole
There are many lesser-known applications for 3D scanning and printing technology, and we can continue to use this versatile and effective technology for production and prototyping in a variety of fields. Feel free to join us and explore more possibilities together!


