When you think of 3D printing people tend to think only of the most cutting-edge applications in medicine, aerospace, and automotive. We tend to forget that as time passes the technology becomes more affordable, thus increasing its accessibility. One of the predominate uses of 3D printing technology is customization, and this applies to all levels of the technology. In this article we’ll go over how simple it can be to create a custom solution to an everyday problem using 3D scanning and printing.
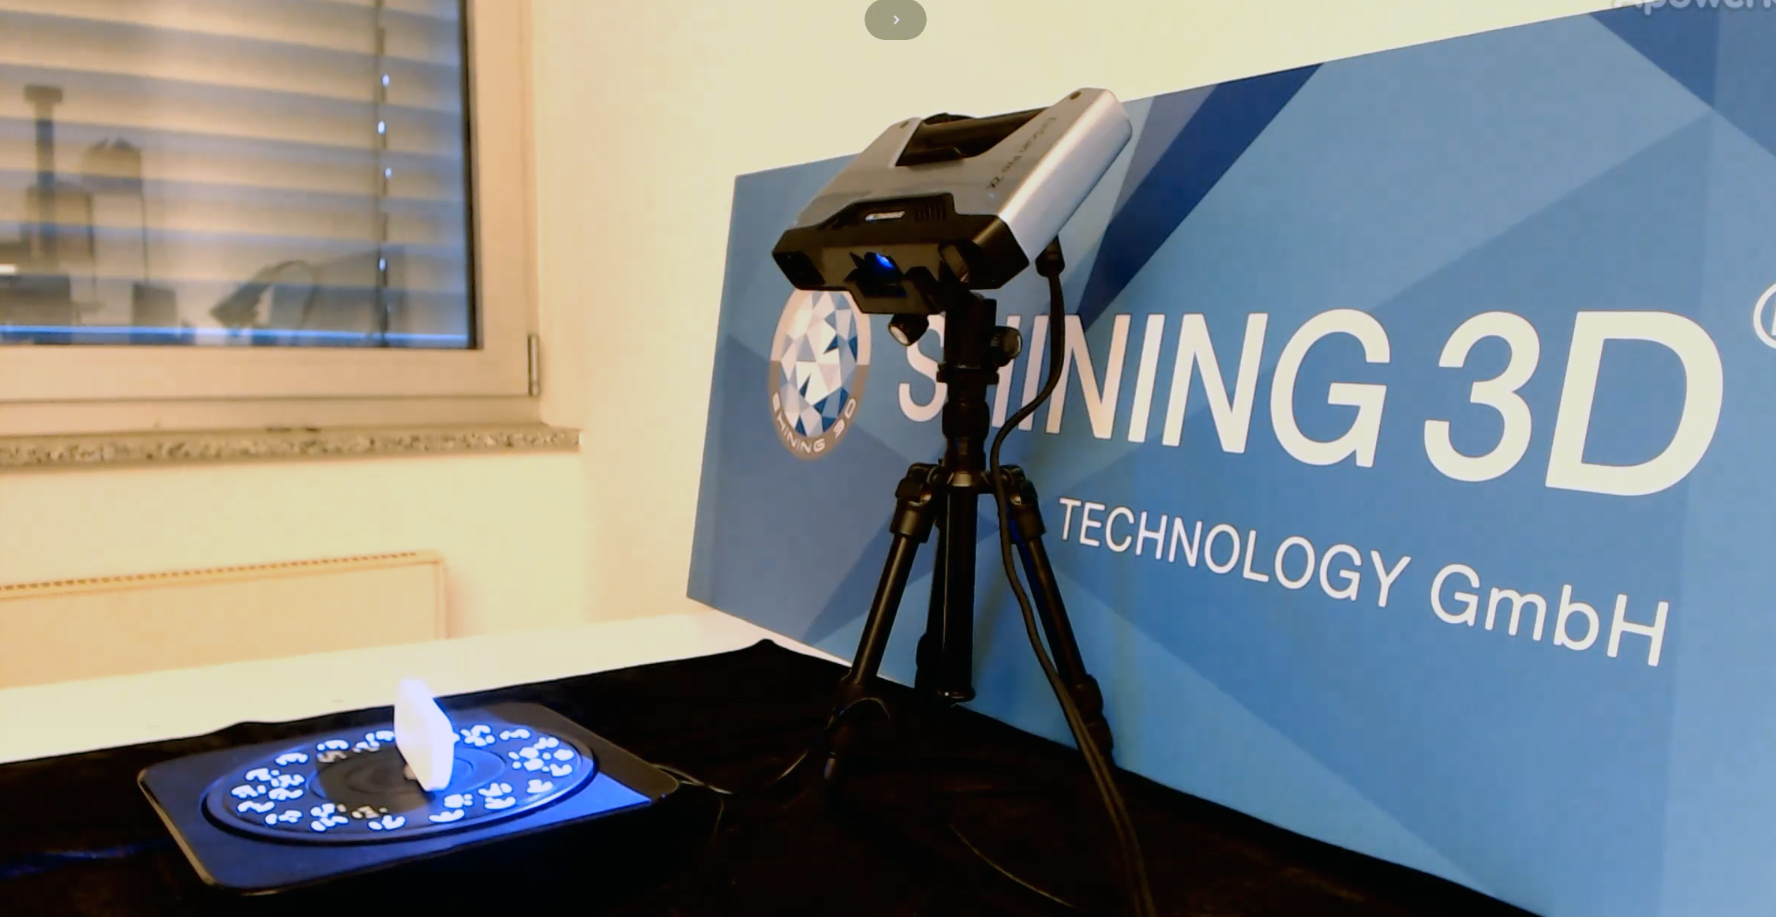
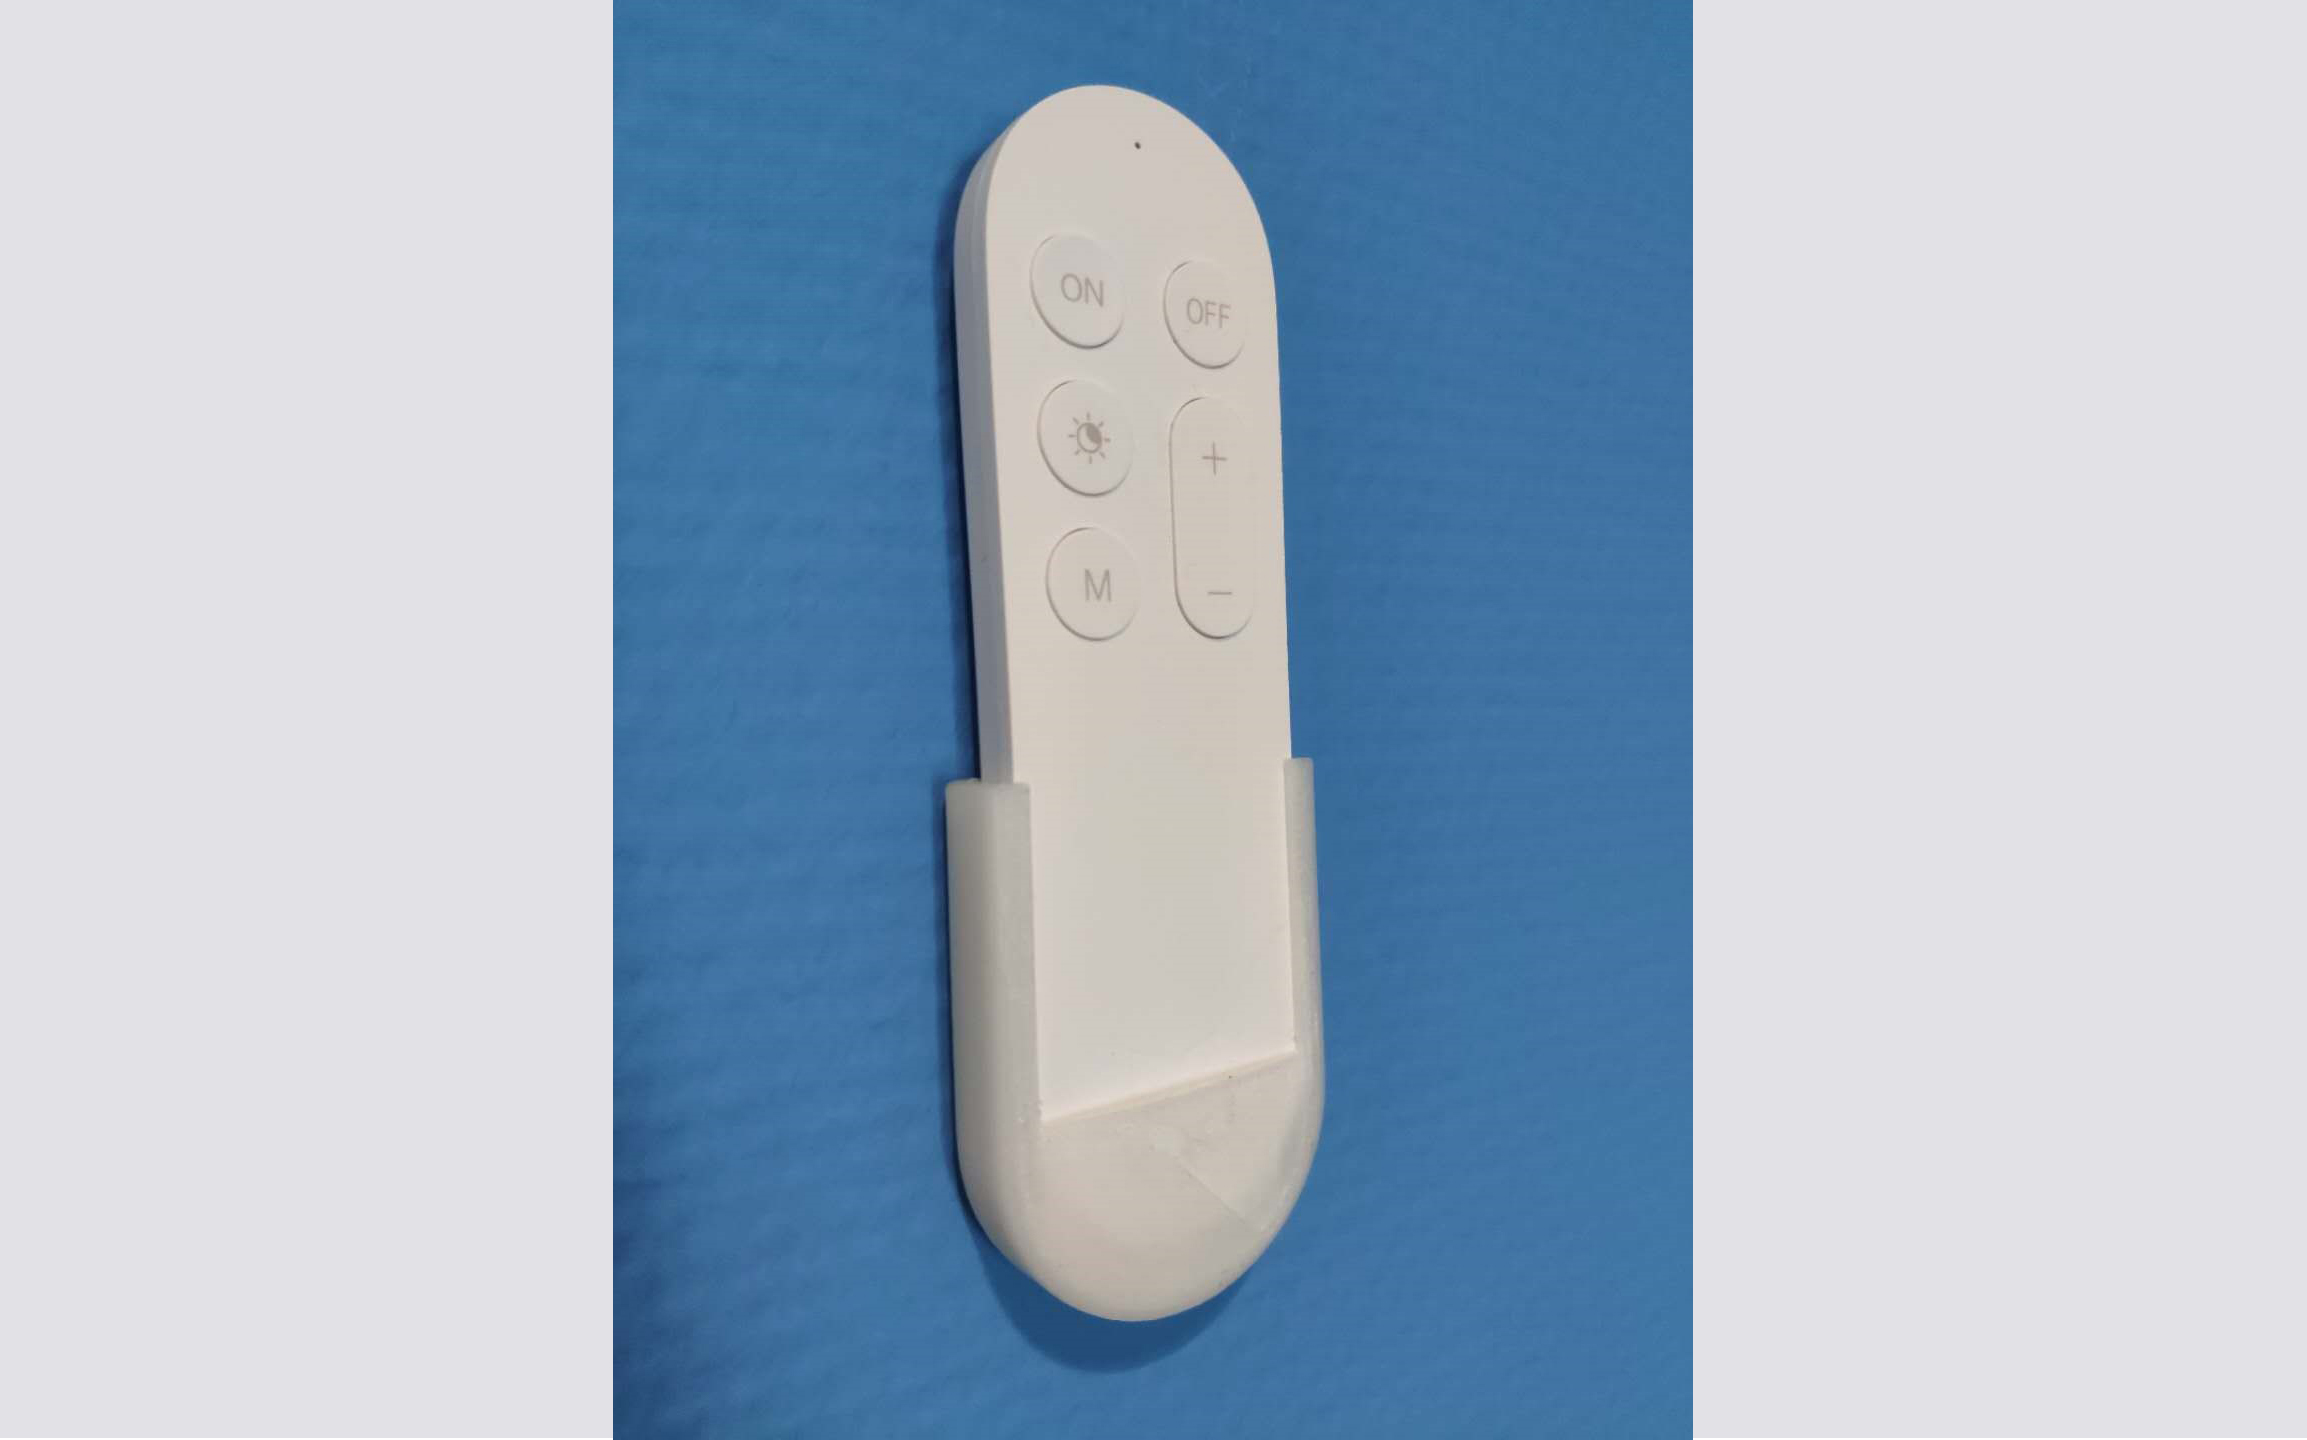
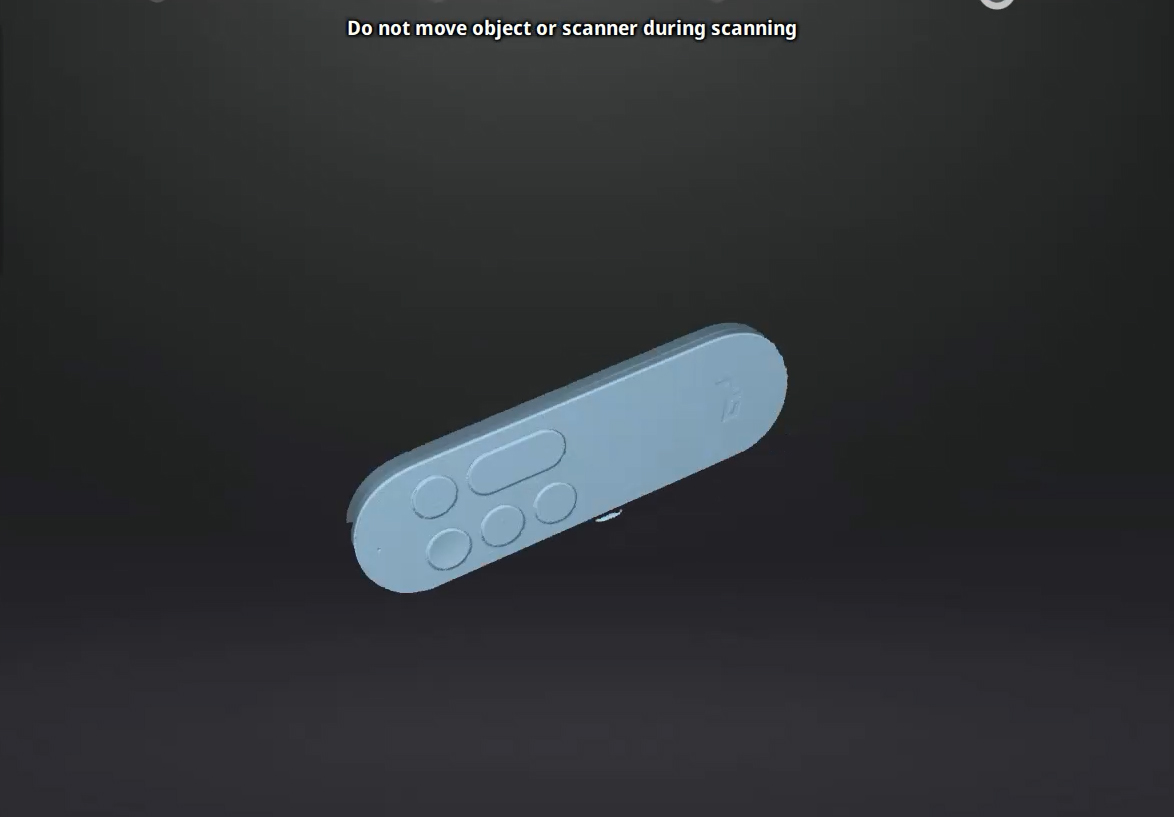
The project was simple to create a 3D printed wall mount for the controller to give it a proper storage place in the office and prevent it from getting lost. Using the EinScan Pro 2X multi-functional handheld 3D scanner would allow us to obtain a 3D scan of the object. We set up the scanner using the Industrial Pack’s turntable and tripod attachments. This allowed us to scan smaller parts with high accuracy and resolution. The automated turntable also simplifies the scanning process as the software is able to align together multiple scans of the object. After a few scans we had a complete 3D model of the part and were able to save it as a stl. file which would allow us to modify/reverse engineer the part in CAD software.
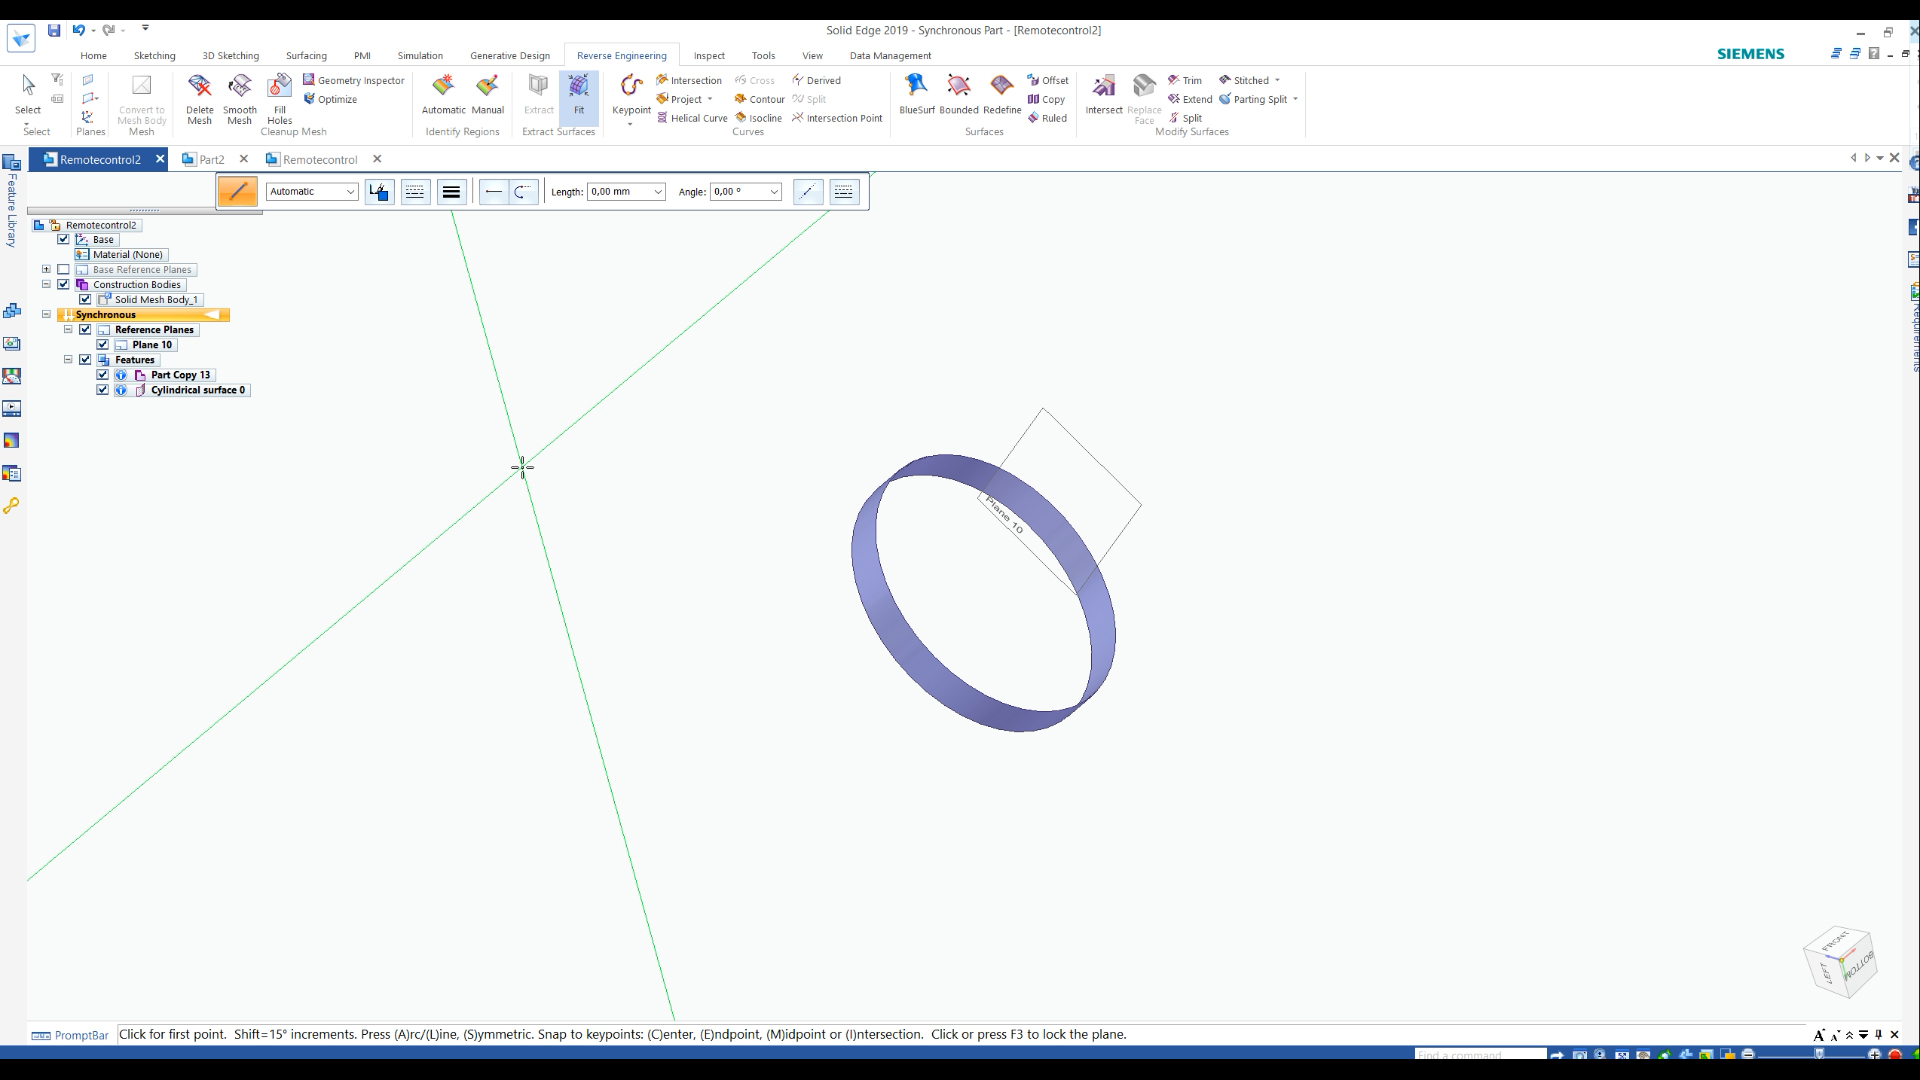
The EinScan Pro 2X line of scanners includes a very powerful CAD design solution, Solid Edge SHINING 3D Edition by SIEMENS PLM Software, which allows us to import the .stl scanned data. From there we can extract the patch surface data and use it to do reverse engineering. This process promises a perfect customized fit for the wall mount design as we are using the acquired data from the scan.

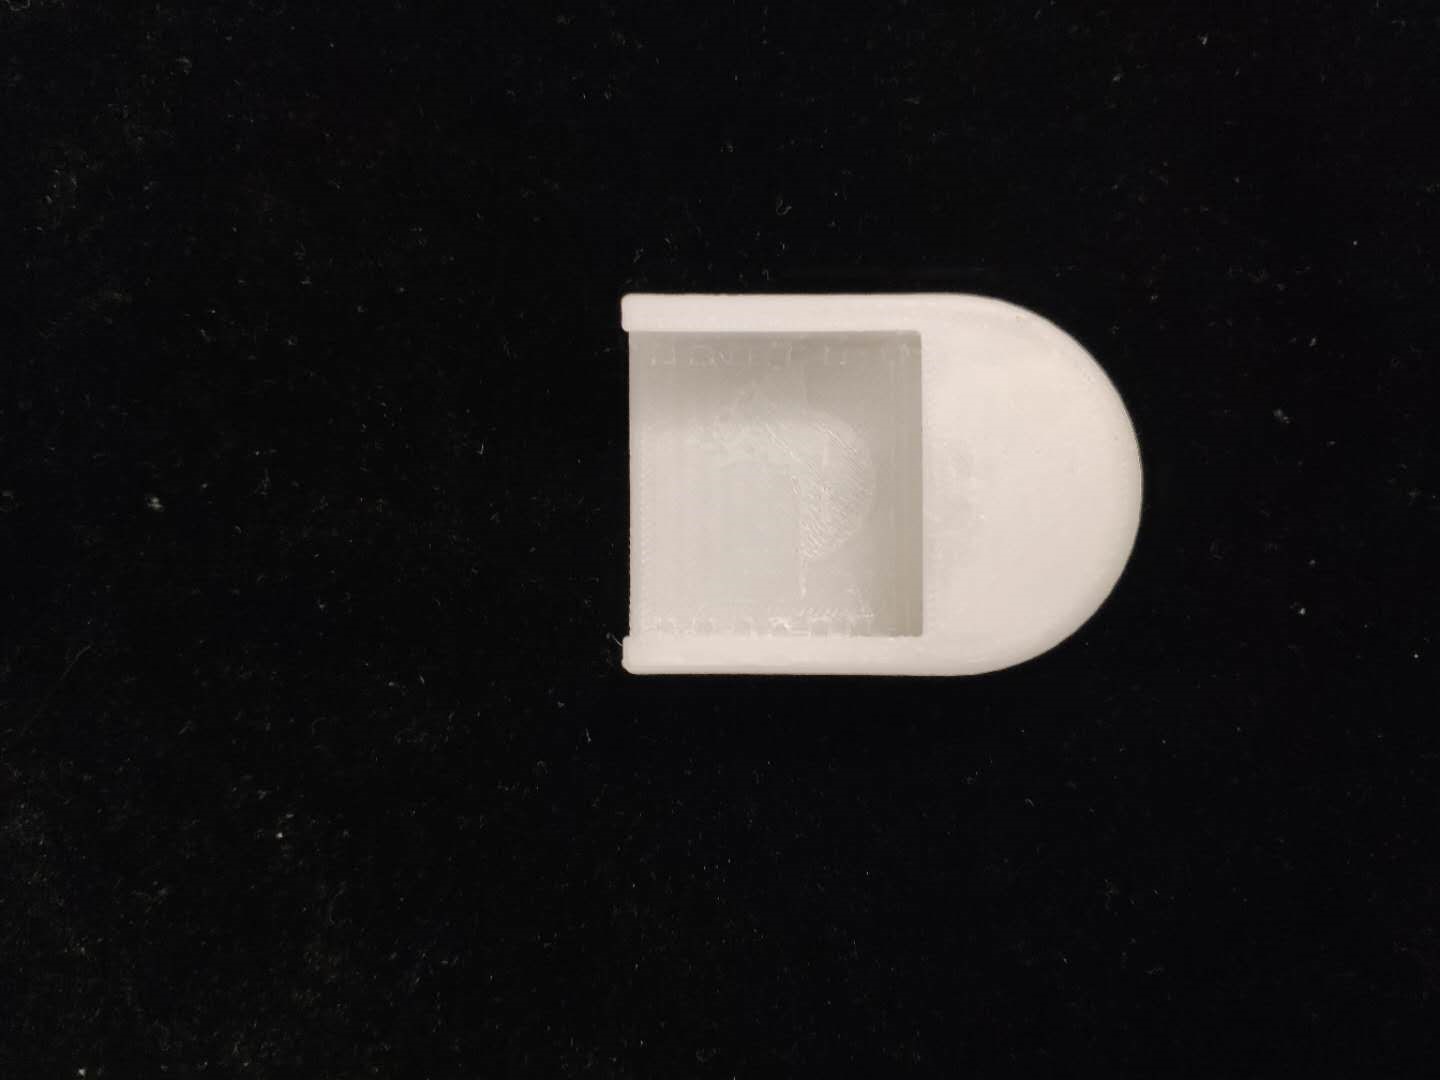
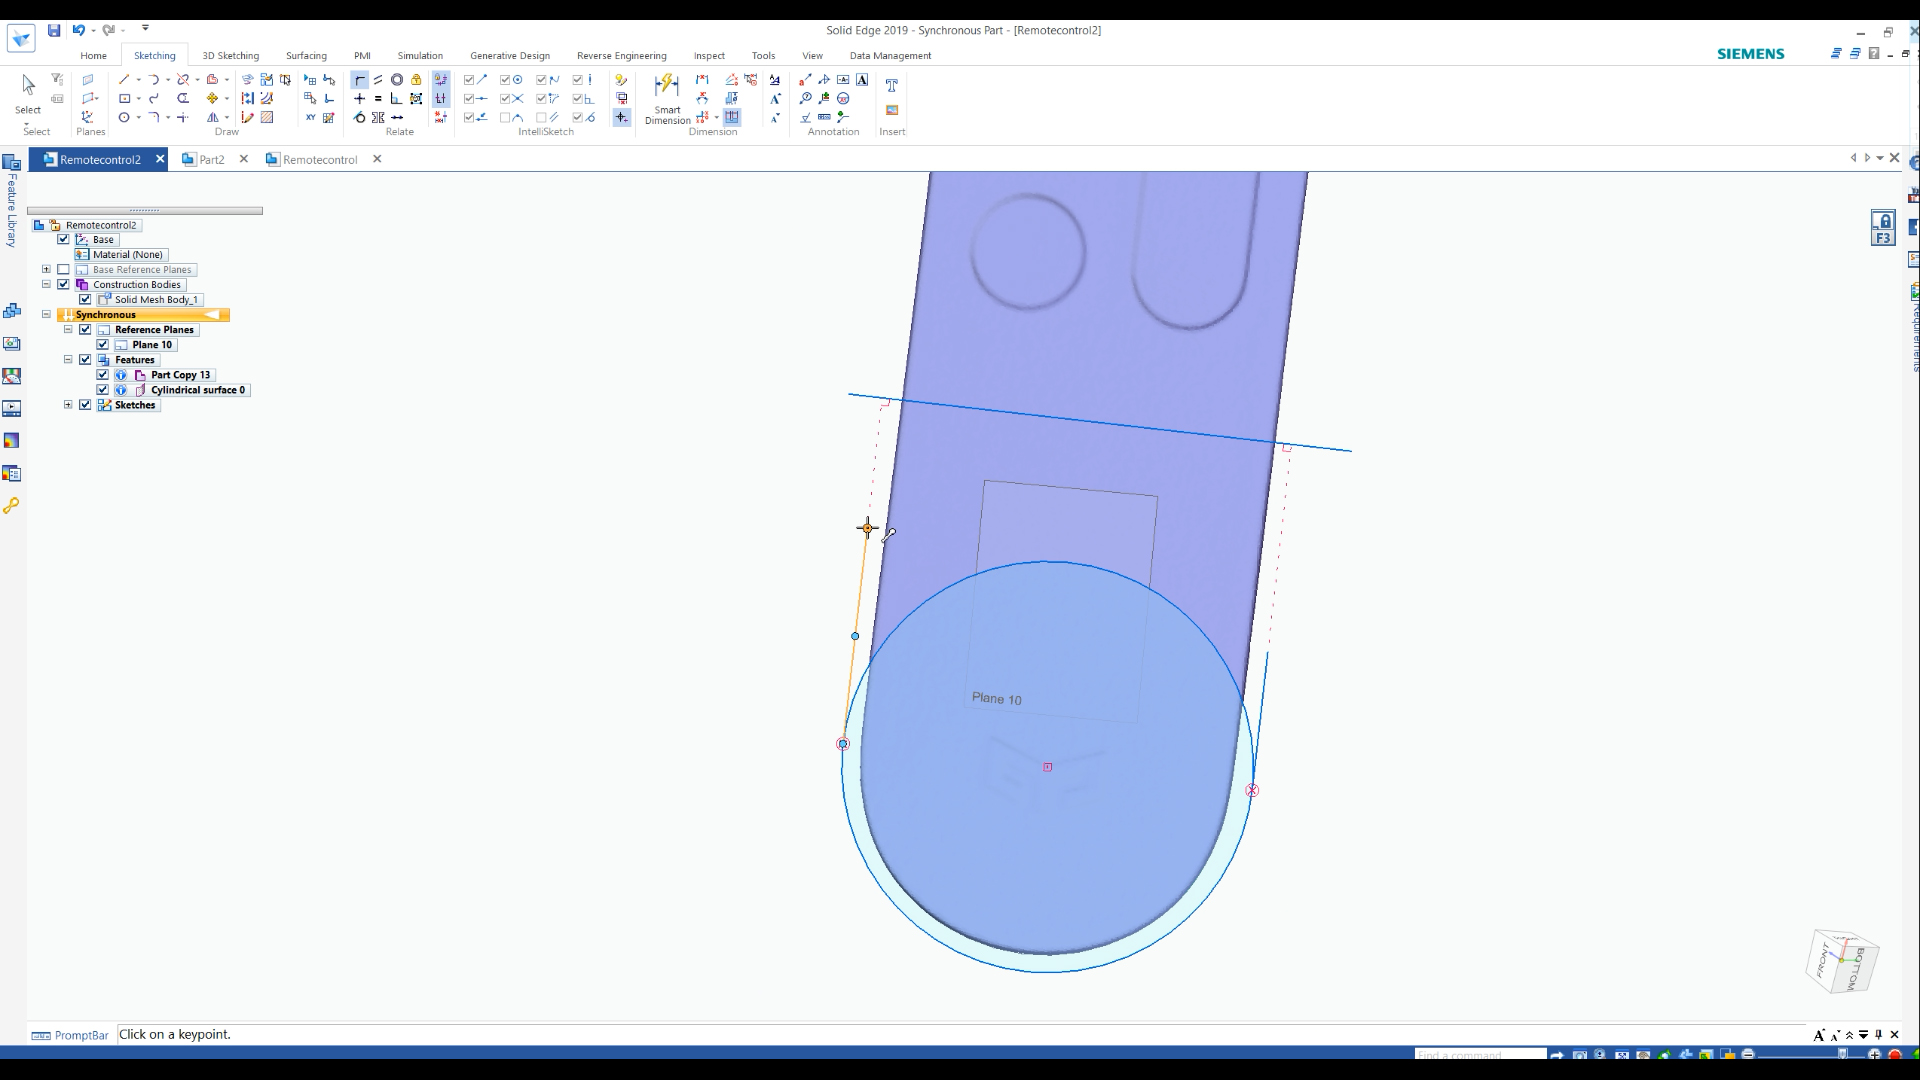
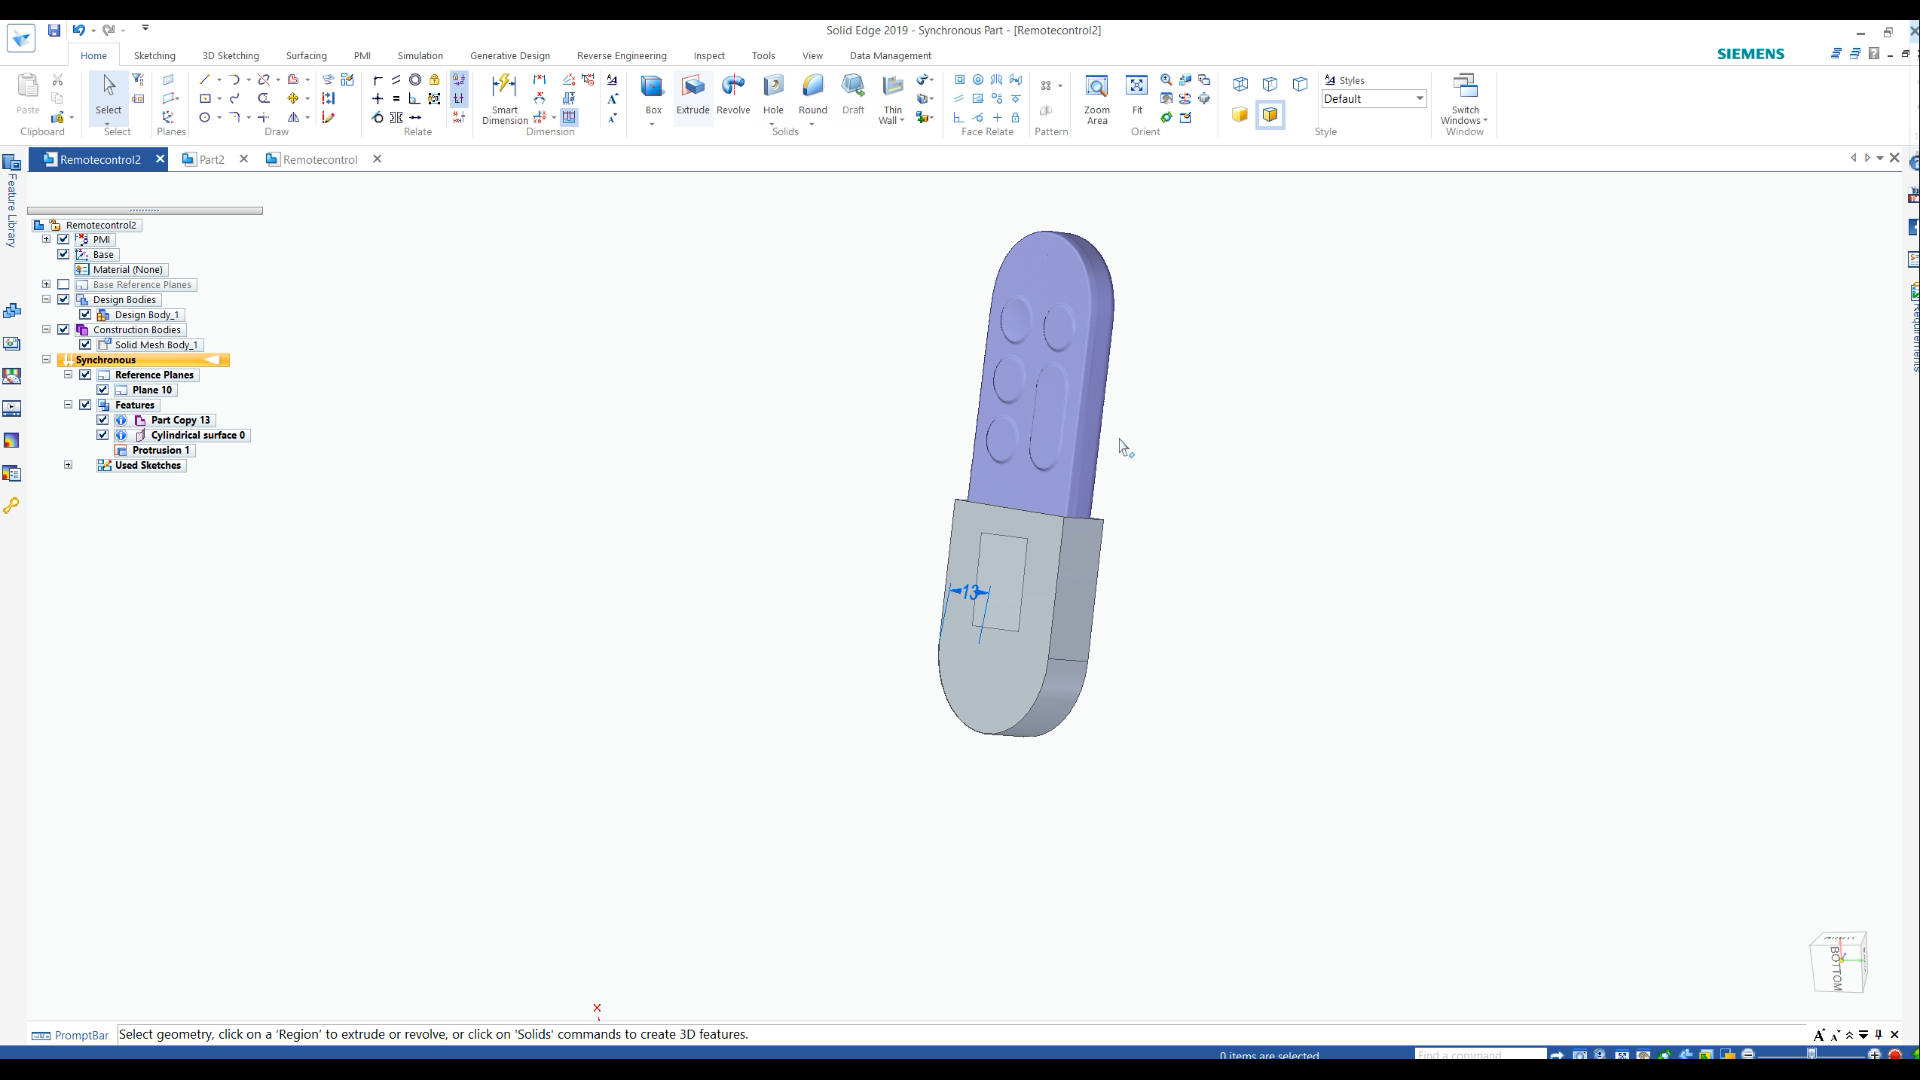
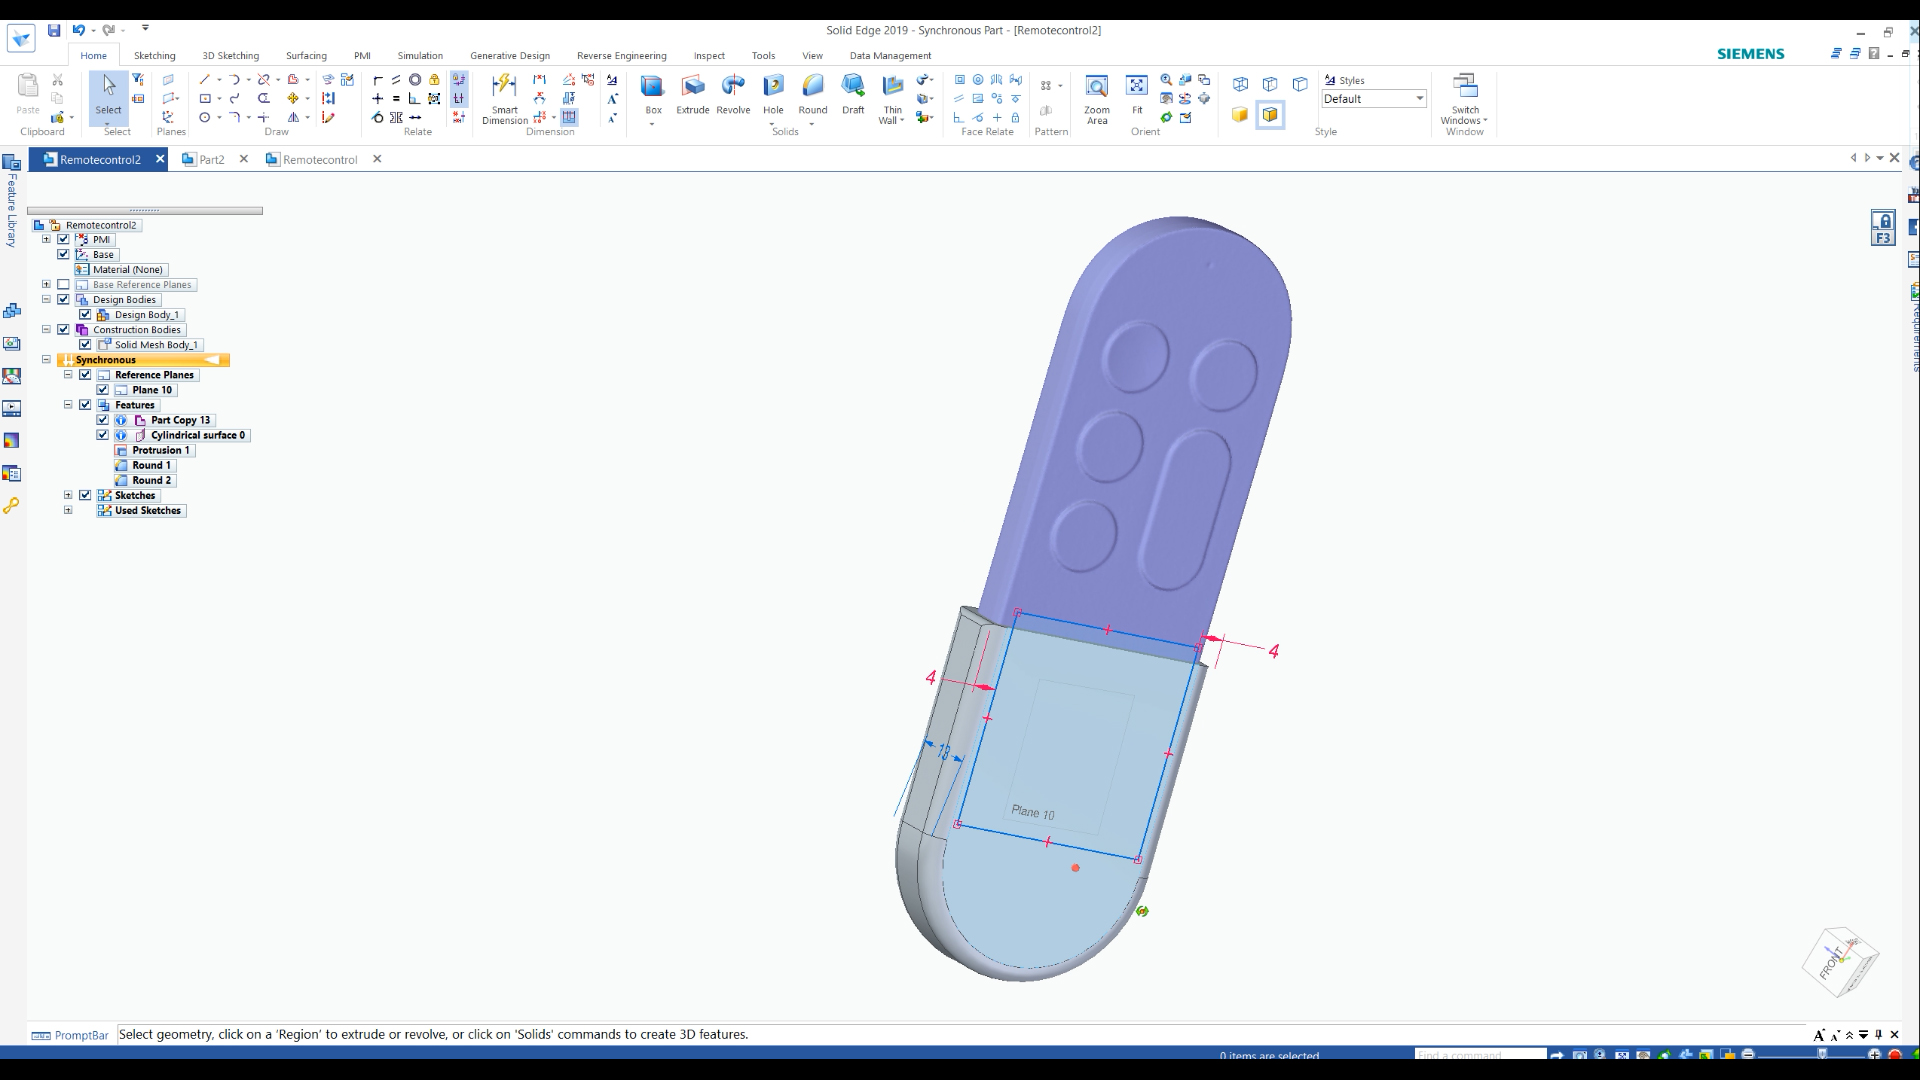
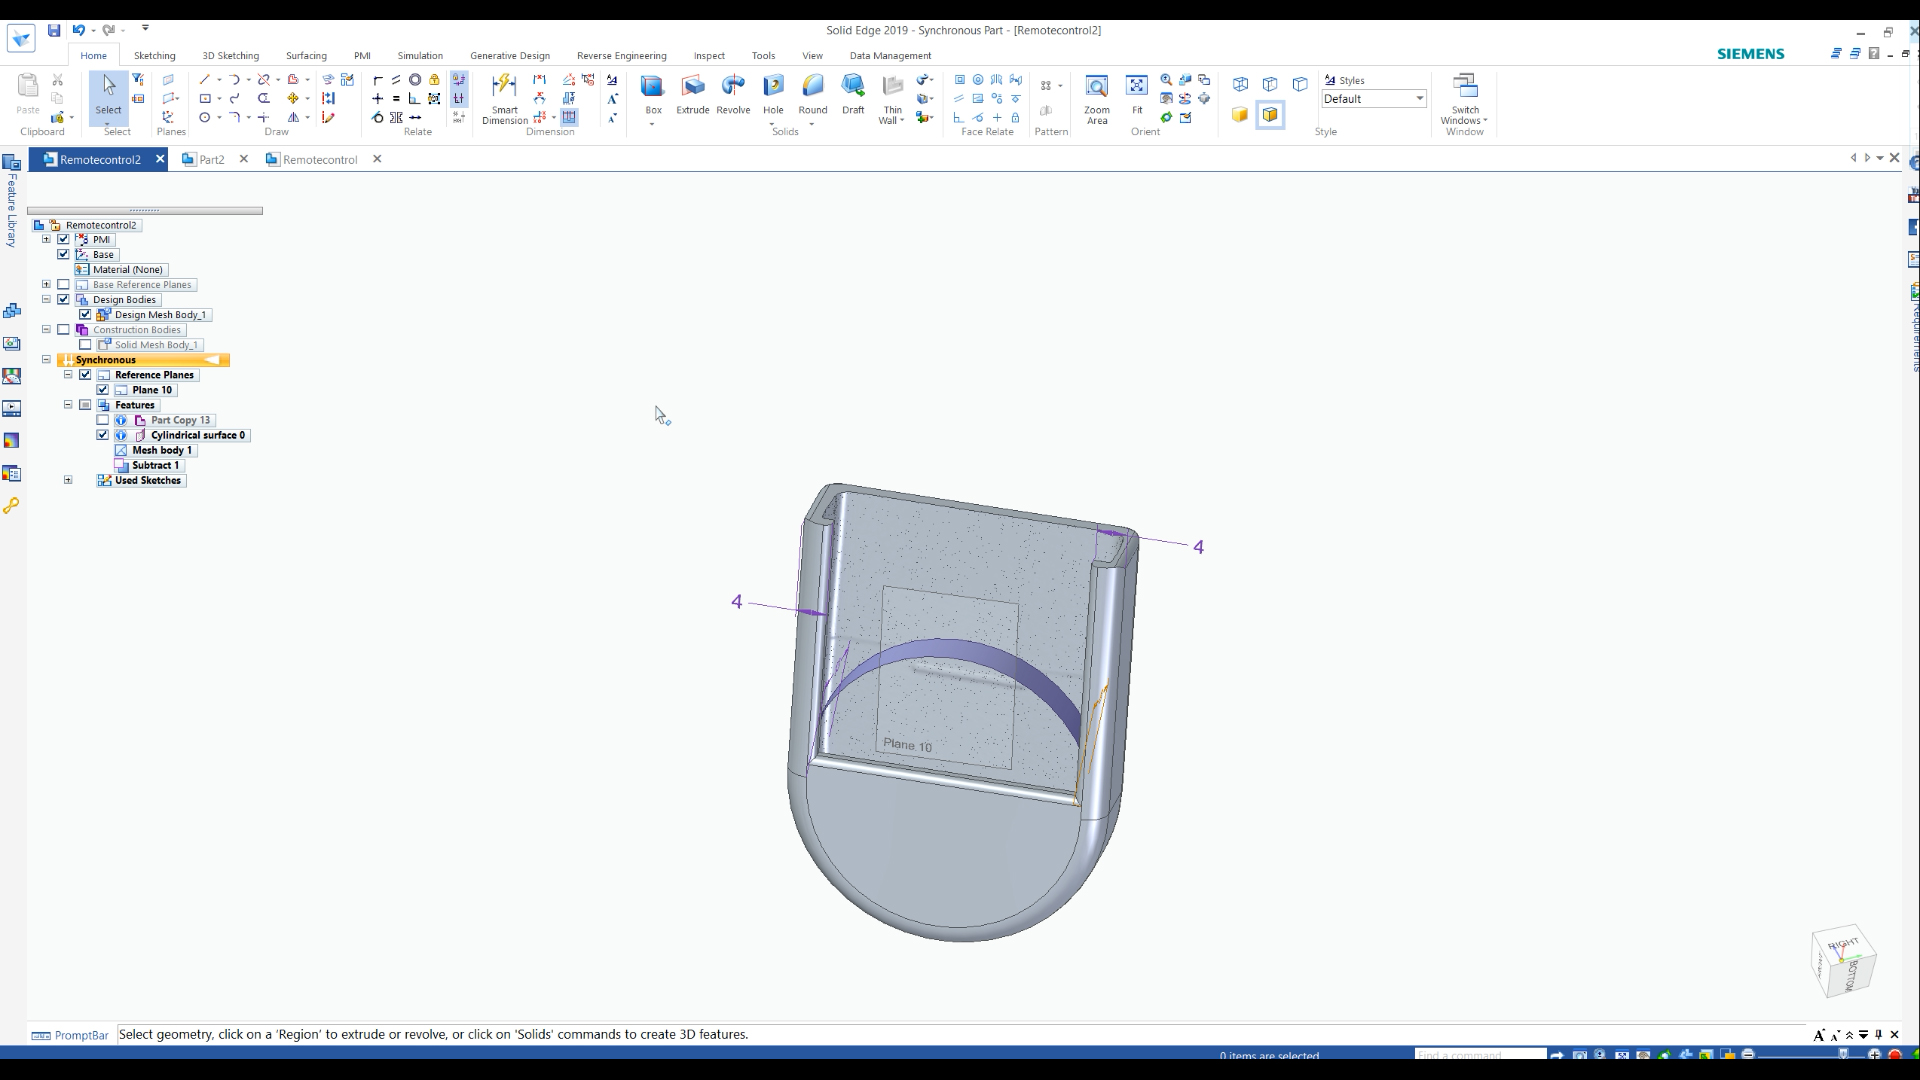
Based on the obtained key surface data, using the synchronous modeling method, we began the preliminary modeling of the shape of the wall mount. We adjusted the fit to be in line with our scan data and then completed modeling the mount with the specifications we require such as an entry port.
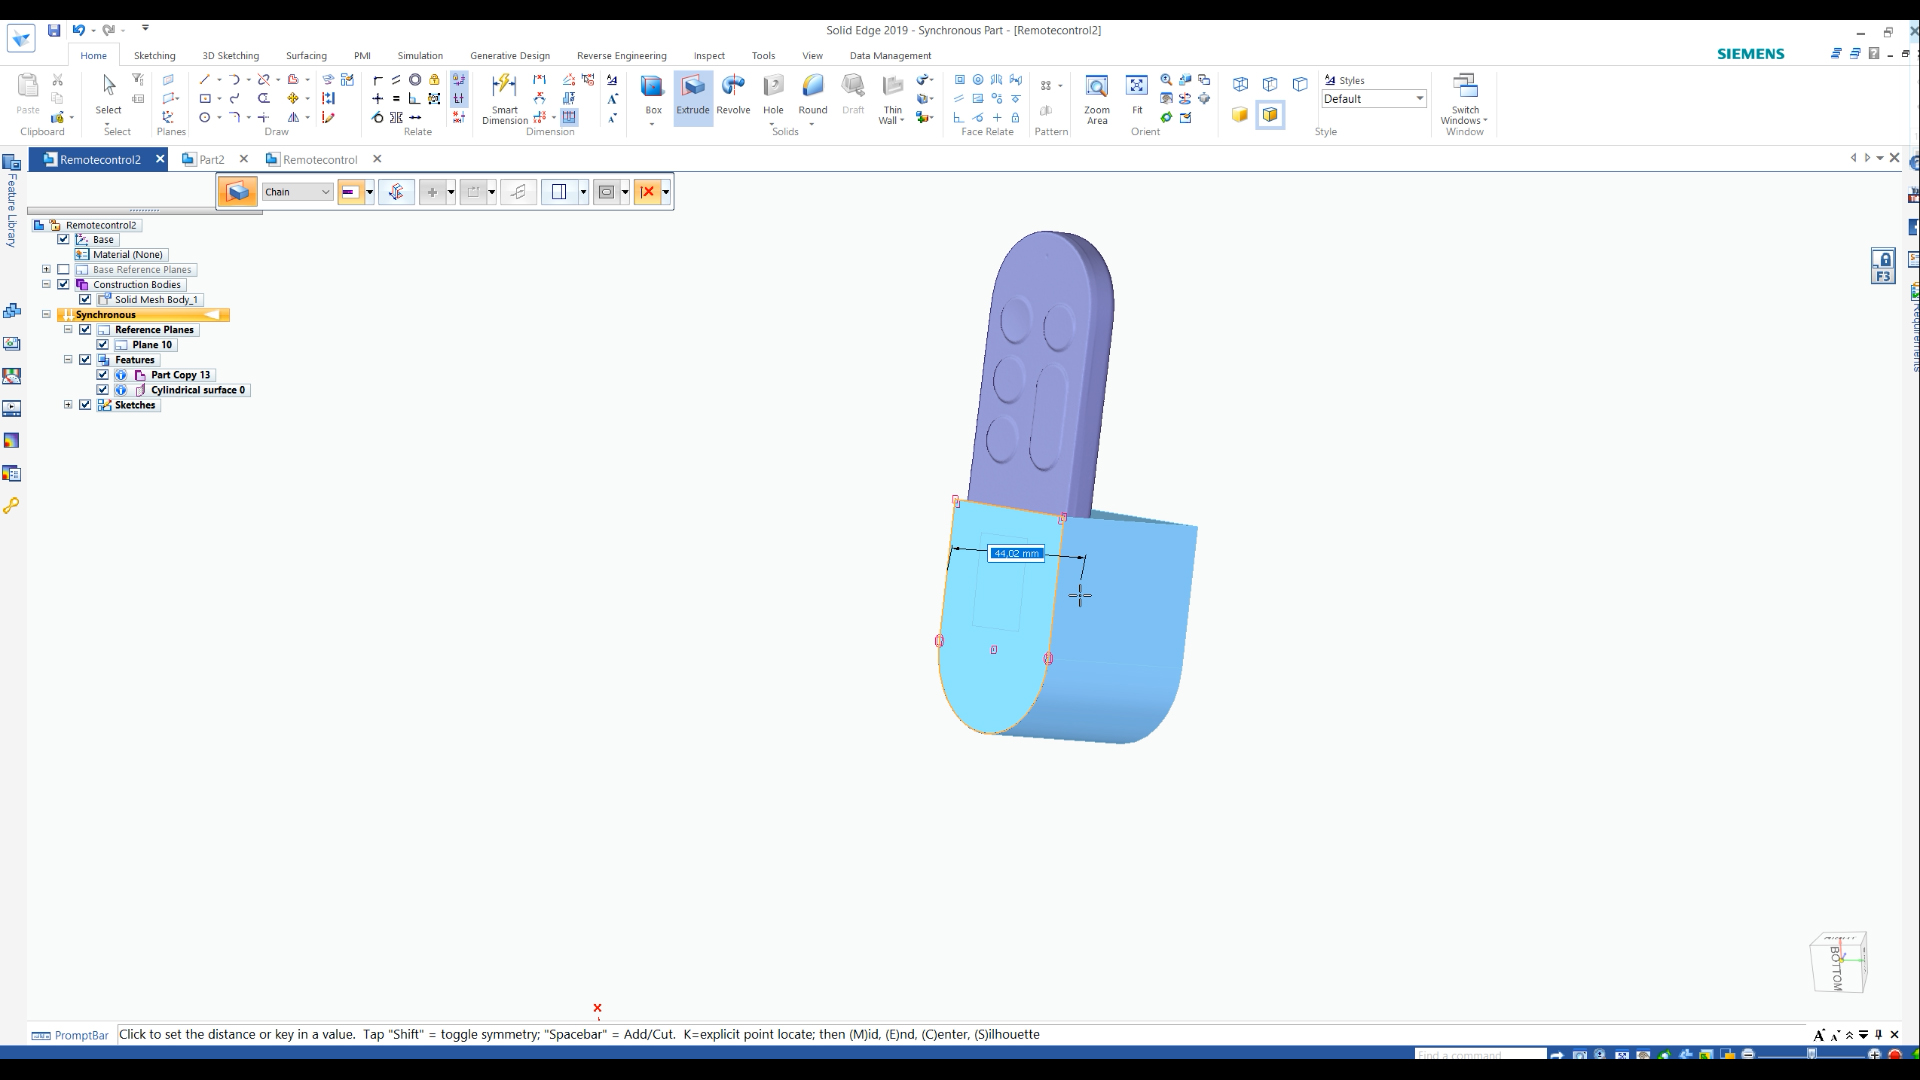
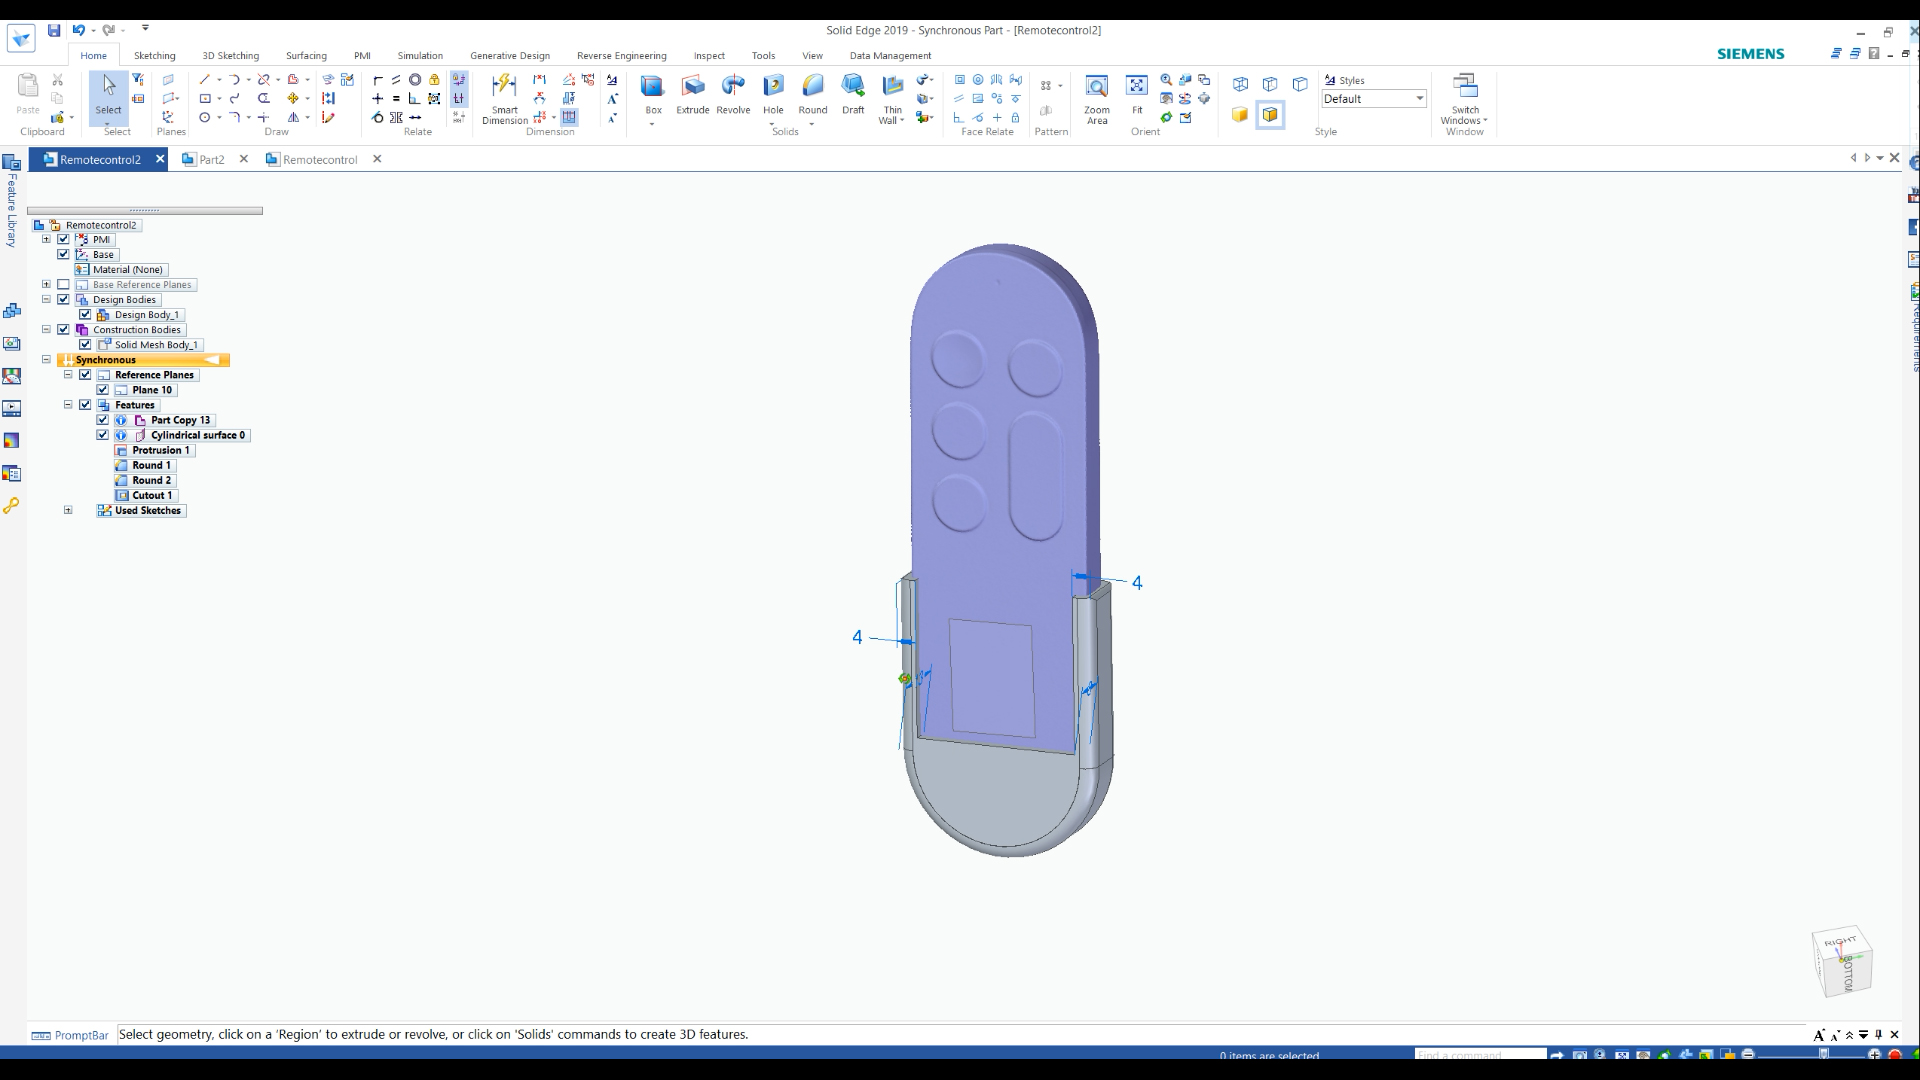
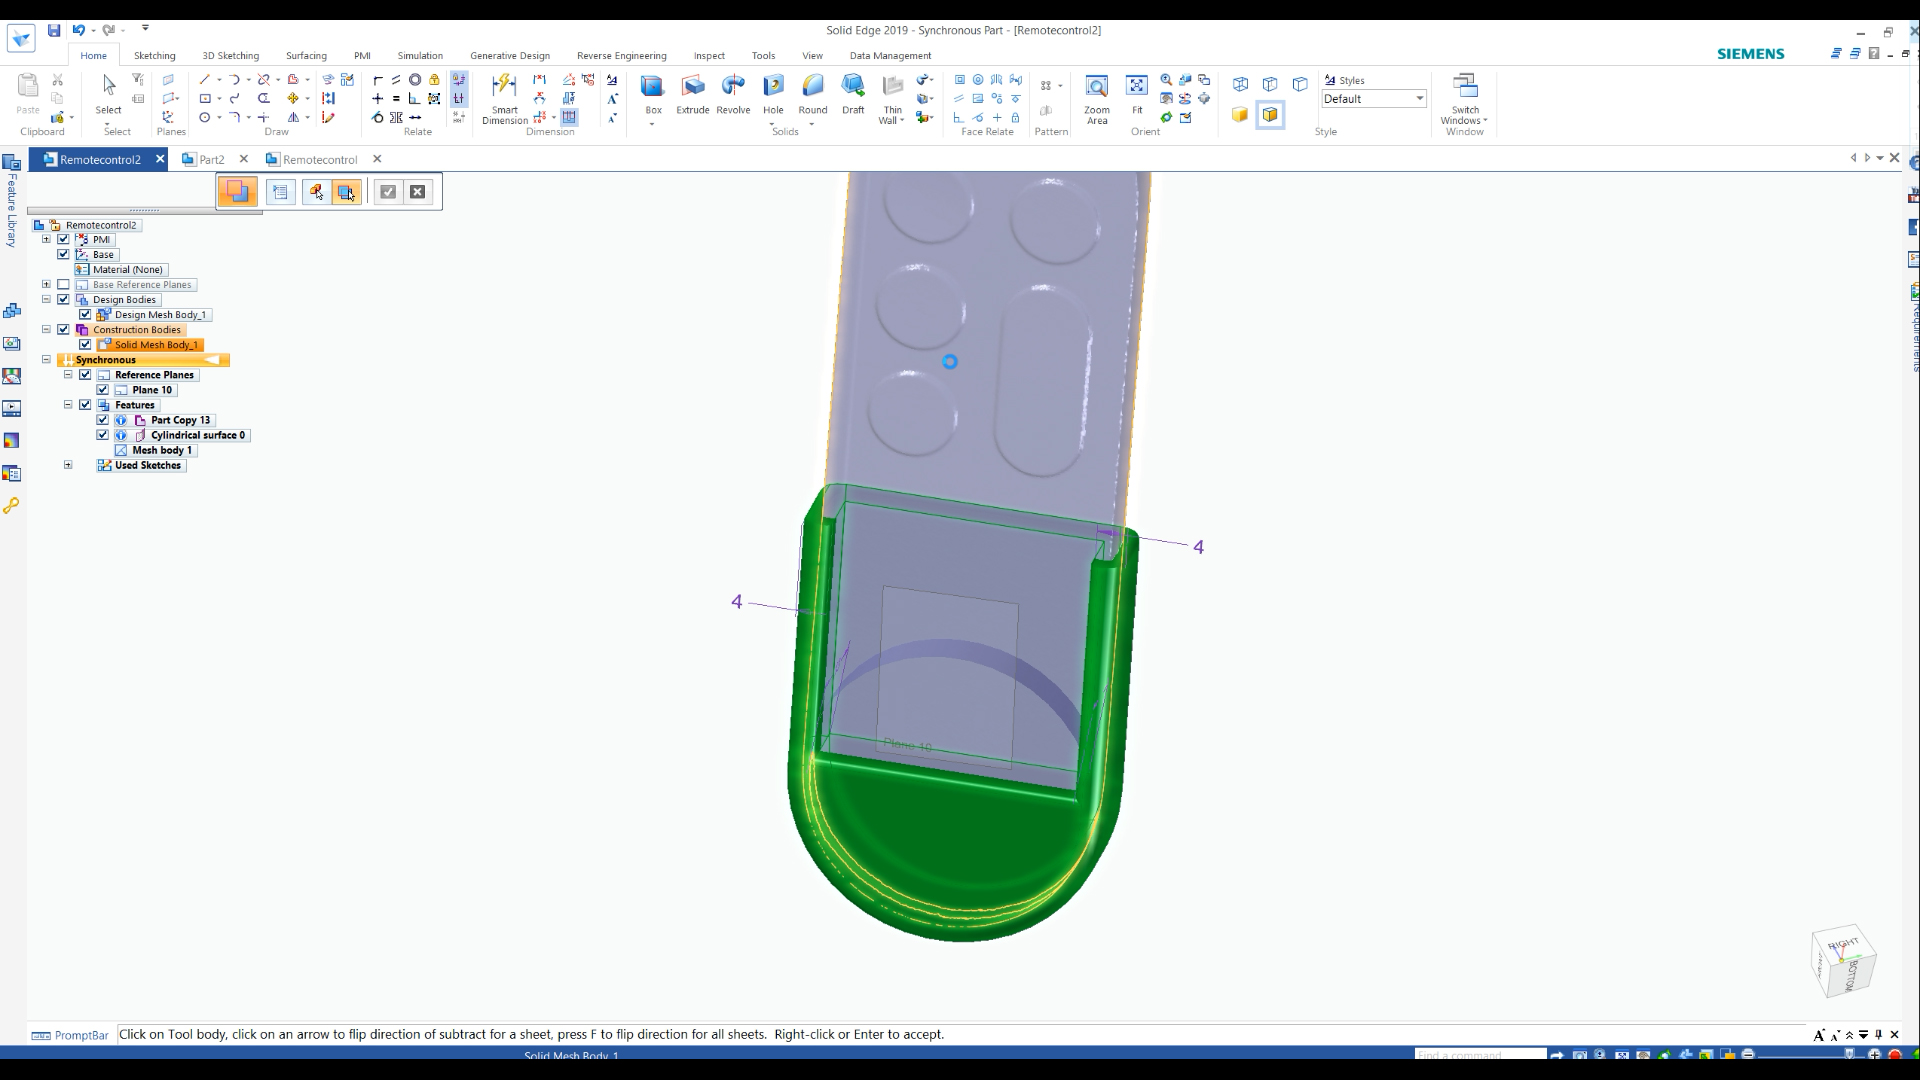
Using Solid Edge’s grid data editing tool, we perform Boolean operation and subtraction on the wall mount and the remote control. This helped us obtain a groove shape that completely conforms to the shape of the remote controller, finalizing the custom fit.
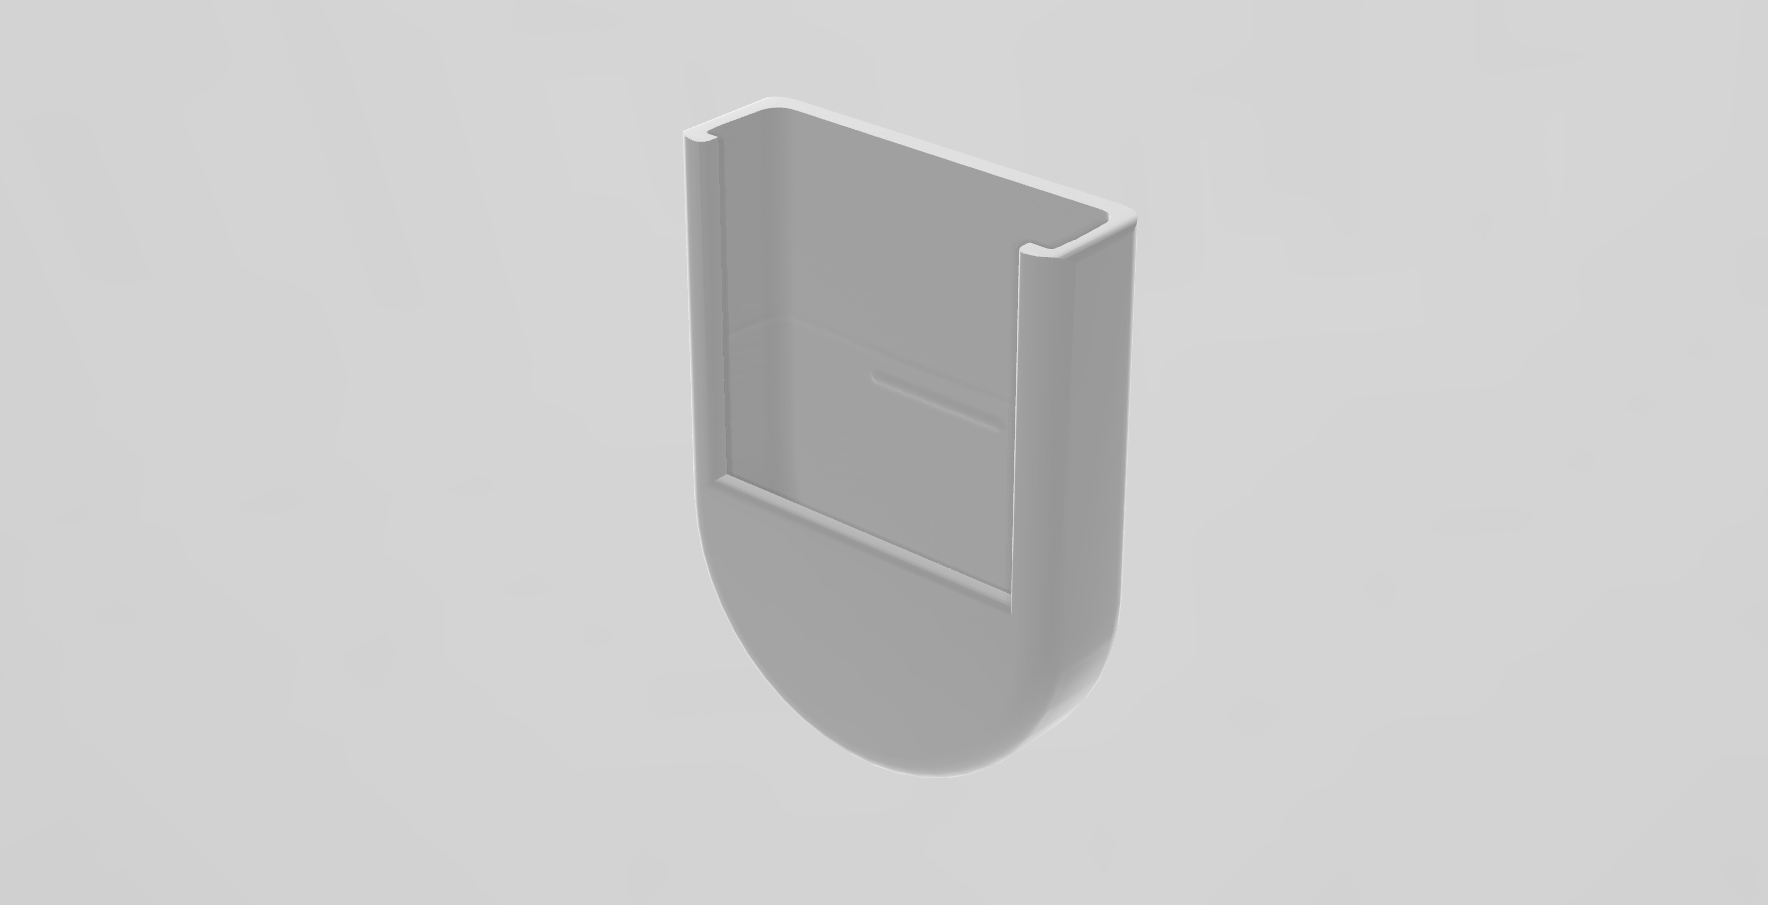
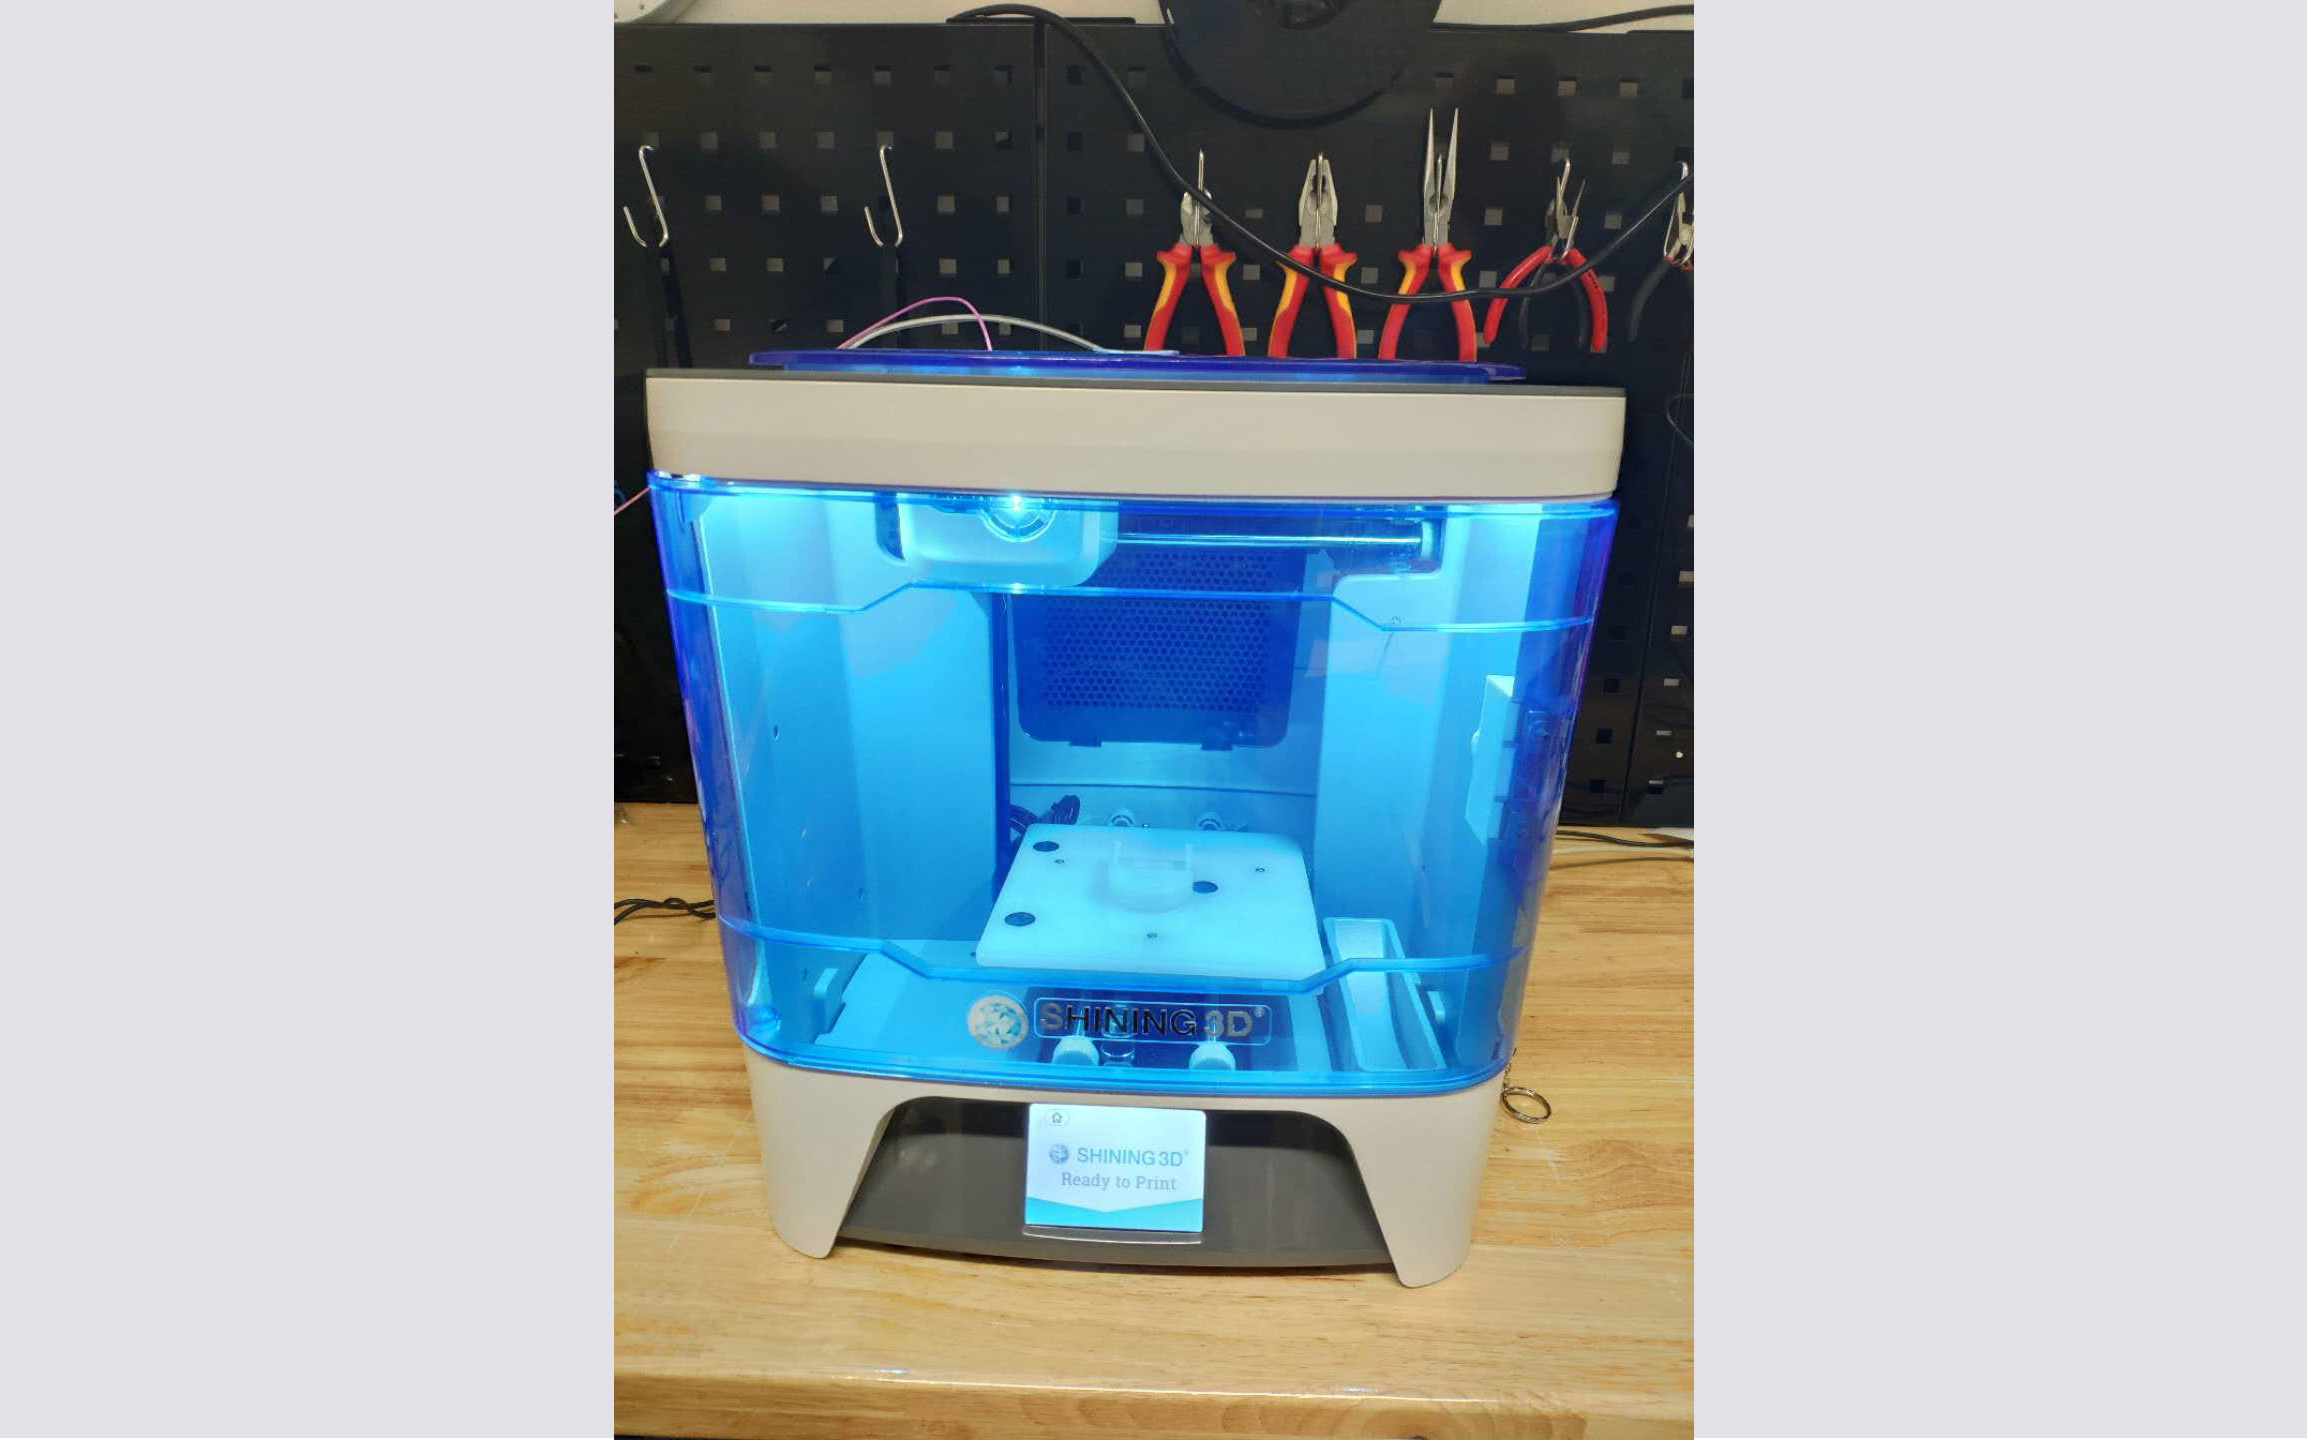
Once the process was complete, we had a complete model of our designed part that was guaranteed to fit as we built it using the controller’s parameters. From here we exported the file to our 3D printer’s software and prepared the print job. The Einstart-P then printed out our part, and within a couple of minutes our hard work materializes into our custom-built wall mount.