After using the EinScan H for about half a year, Joakim upgraded to the brand new EinScan H2. We visited his workshop to learn more about how he uses 3D scanning in his workflows. Joakim showed us his approach to 3D scanning textile for an upcoming project. His client needs a replica of the fabric for bronze casting.
- Name: nioform
- Company size: Individual business
- Location: Mariestad, Sweden
- Product or service: 3D scanning, 3D design, and robotic milling
- Need: Reproduce a piece of fabric for a bronze sculpture
- Solution: SHINING 3D EinScan H2
This case study is also available on YouTube:
Table of Contents
From the EinScan H to the EinScan H2
We’ve written about Joakim Målare and his workshop, nioform, before. He’s a passionate maker that specializes in robotic milling of models, molds, and sculptures.
“Nioform is a one-man workshop that I created to help artists, designers, and architects in developing their ideas and manufacturing their visions,” he shares.
Part of that process involves 3D scanning technology. Joakim acquired his first EinScan 3D scanner around 6 months ago, and has since been using it in various projects. Now, he even offers 3D scanning as a professional service.
From standard indoor scans to large outdoor scans in challenging lighting conditions, the EinScan H helps Joakim get the job done efficiently.
“This scanner has significantly improved my workflow,” he states. “I get more consistent results and instant feedback on the screen. That’s what I like– you know what you’re getting while working.”
Impressed by the EinScan H’s performance, Joakim was eager to beta-test the new EinScan H2. After he had used the EinScan H2 for a few weeks, our team went to visit him at his workshop in Mariestad, Sweden.
We asked him how he felt about the new EinScan H2, and according to him, its biggest improvement is the infrared mode. “I did a direct back-to-back comparison with the first H. The first version works, it’s functional, but with the H2 it’s effortless.”
The EinScan H2 now features three VCSEL projectors instead of one to offer more versatility, speed, and accuracy. Learn more about all the new features in our EinScan H2 press release.
3D Scanning Textile For 3D Milling
Joakim walked us through his 3D-scan-to-3D-mill process on a challenging object: a quilt.
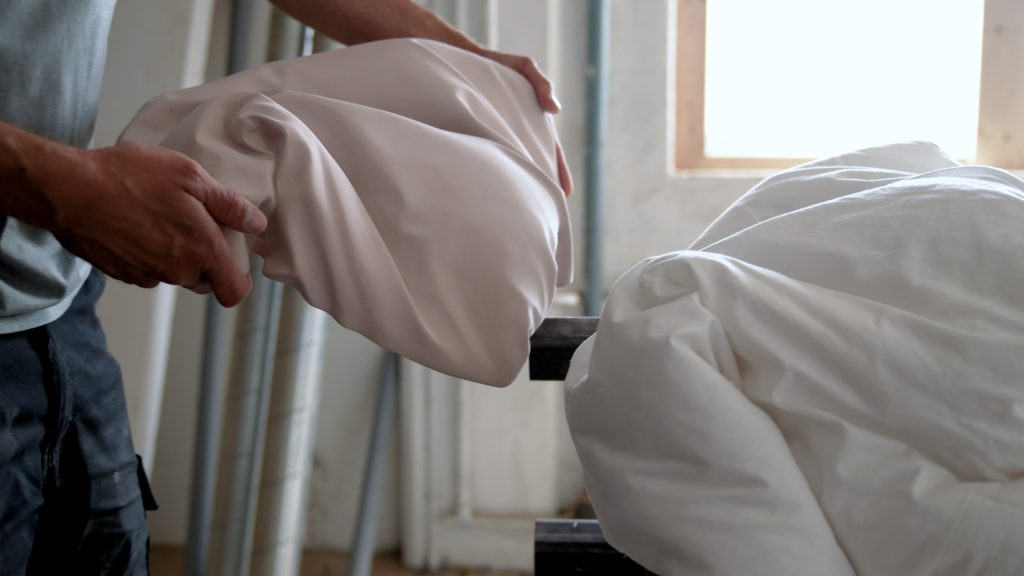
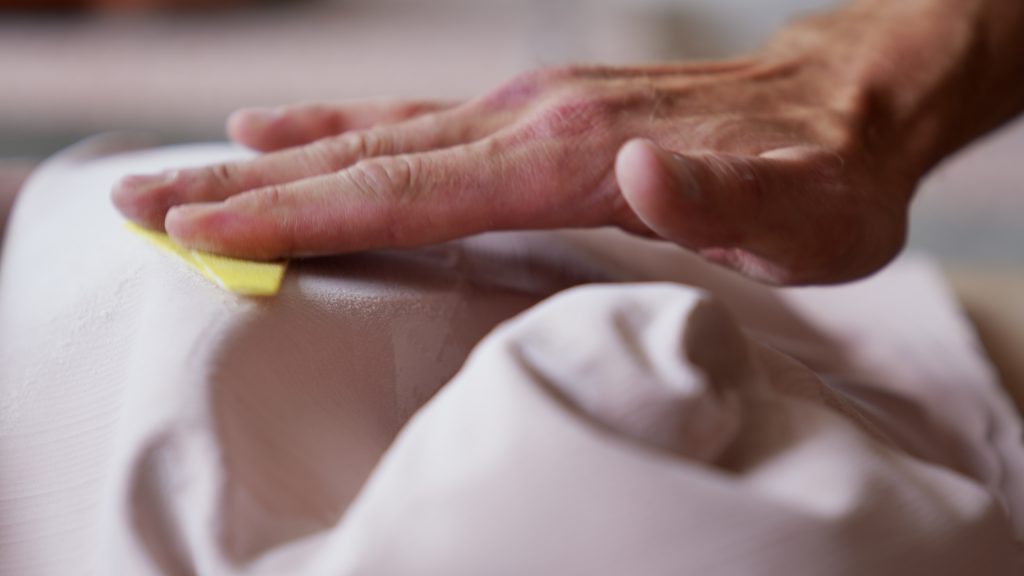
A client wanted to make a bronze sculpture that includes a specific quilt, and needed an accurate mold of its shape. The challenge with limp materials like textiles is that their shape changes as soon as you touch or move them. That’s where 3D scanning steps in: it enables you to capture their shape without any physical interference.
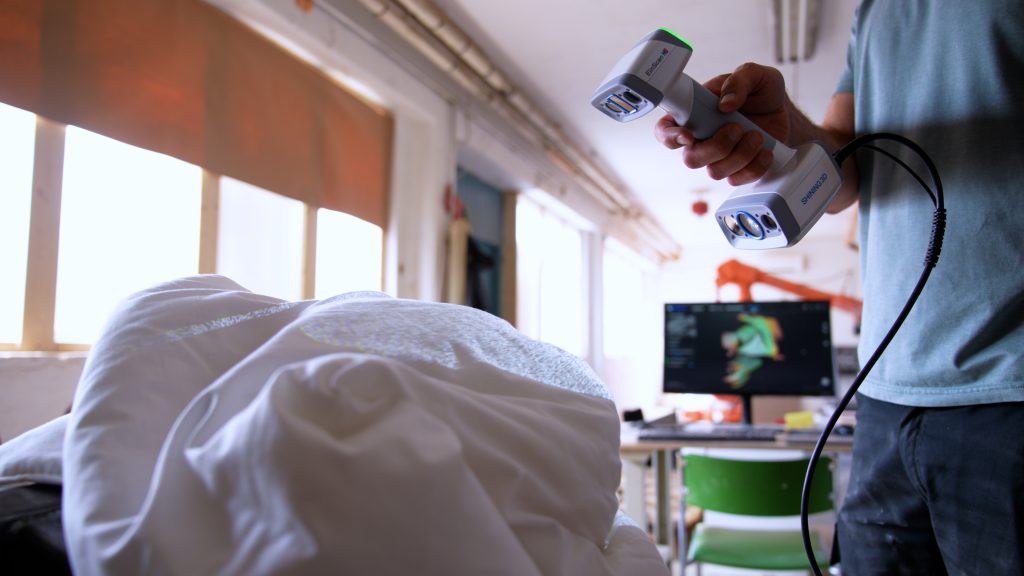
To show us his workflow, Joakim used a different, plain quilt, as his client’s project is confidential at the moment.
He simply placed the quilt in the shape that he wanted, and proceeded to 3D scan all around it. It took him about half an hour to get a finished scan that he could then export to Blender for post-editing.
“It’s a nice open-source program that you can use to fill holes and remove stray geometries in scans,” he explains. “So, I’m not always doing a straight copy of the original piece. For this, Blender is great. You can sculpt and you can smooth and you can edit shapes until you get the impression you want.”
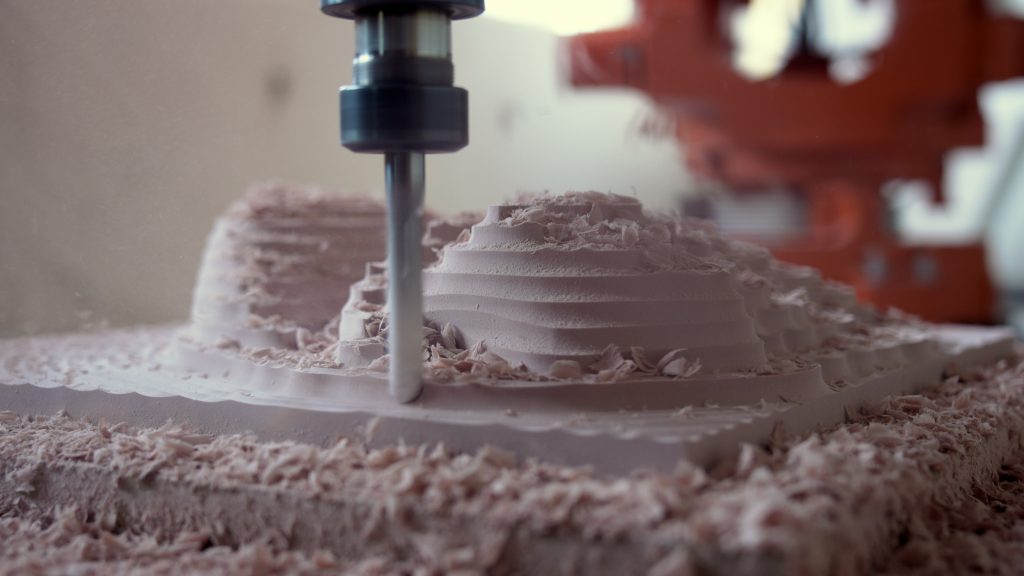
Once Joakim is satisfied with the final 3D model, he must split it into smaller sections that are suitable for the milling process. He then sends the sections over to SprutCAM– his CAM (Computer-Aided Manufacturing) software.
In SprutCAM, he can indicate which material he will be milling and adjust a range of settings. He says that this involves “different operations, from roughing to medium finishing and some detailed milling to reach the smallest details and cavities.”
With the right instructions for his robot, he then sets up the chunk of material to be milled, and lets the machine do its magic. He’s left with a positive replica of the quilt, which the artist can then work his own magic on.
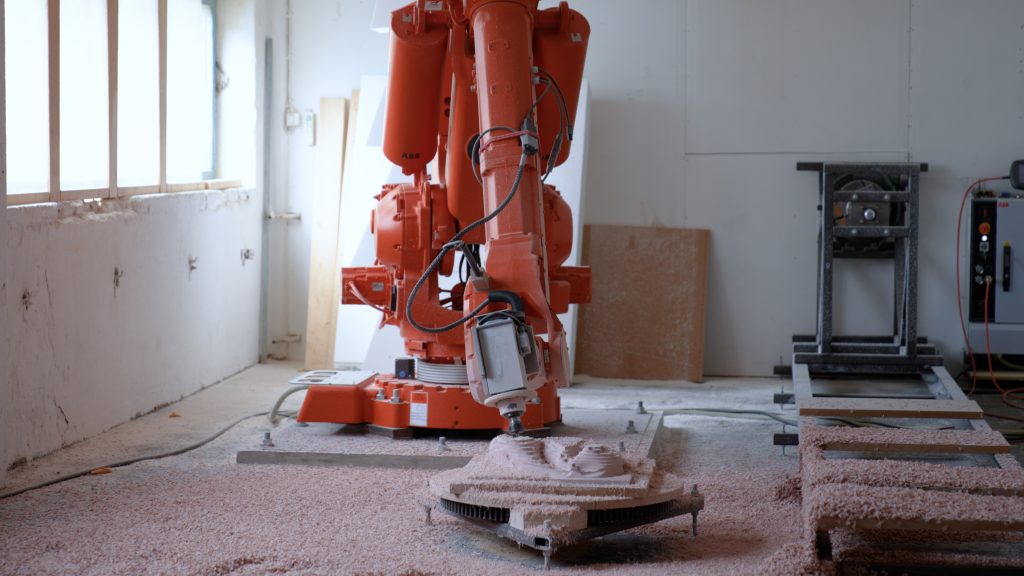

By providing positive replicas, Joakim lets artists manually finetune their designs before launching the creation of the final negative molds for bronze casting. Otherwise, he can directly manufacture negative molds, which he says is a “huge time-saver”.
On another note, Joakim used polyurethane material for this project. He often uses plaster, as well, and can use a wide range of other materials. But he has always had a strong preference for natural materials like wood.
Conclusion
Paired with CNC milling and feature-rich software, 3D scanning tools like the EinScan H2 are excellent allies in the creation of artistic pieces. We can even say, in this case, that they open up a whole new level of possibilities.
Nonetheless, for Joakim, manual input will always be essential: “Good art begins and ends with the human eye and hand!”
Wise words from a kind partner that was a pleasure to visit.
If you’d also like to streamline your workflows with 3D scanning, try out our Product selector or reach out to our application engineers for guidance. If you’d like to share your story with us, please send us an email at marketing@shining3d.com


